THE SHORT ANSWER
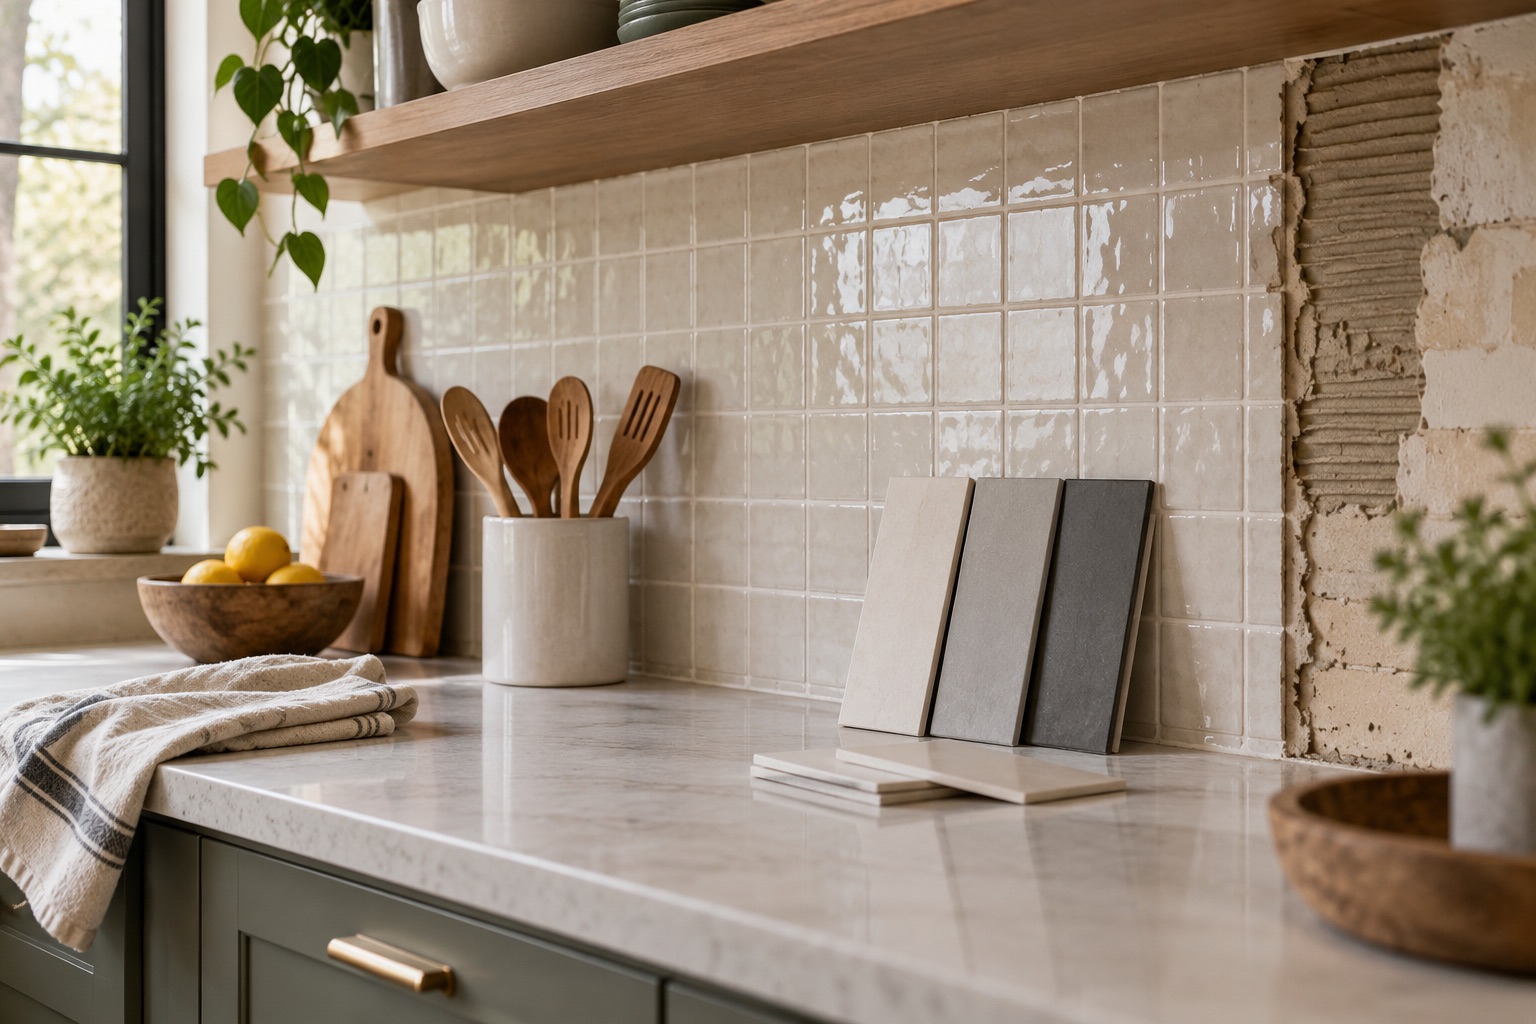
Tiling over an existing backsplash can be reasonable when the old tile and substrate are sound and the new assembly is approved for that surface. It is a poor shortcut over loose tile, contamination or concealed damage. Compare added thickness, edge details and electrical-device coordination with the cost and information gained by removing the old backsplash first.
Treat overlay as an assembly decision
In the homeowner discussion behind this article, a contractor's offer to tile over tile made the owner question the contractor's competence. Offering an overlay is not enough to judge the work either way. The important questions are what the existing surface can support and how the new layers will be detailed.
An overlay leaves the old bond and wall condition in the load path. New tile cannot make a loose existing layer reliable simply by covering it. Ask for a site assessment rather than a decision based only on photographs. Identify the existing tile, wall material, prior coatings and signs of damage. A sound dry kitchen backsplash is a different application from a shower wall, and approval for one should not be generalized to the other.
Check the old installation before keeping it
Inspect for loose pieces, cracked areas, swollen backing and movement near countertops or fixtures. Grease, wax, sealers and cleaning residues can interfere with the new bond. A surface that looks clean may still need preparation specified for the selected materials.
The MAPEI overlay FAQ conditions its method on an existing substrate in good condition and appropriate preparation. The US ECO Prim Grip technical data identifies approved surfaces and compatibility requirements for that primer. These sources demonstrate that a manufacturer can support an overlay method; they do not certify your existing wall. Ask the installer what observations or tests support retaining it. If the bond or backing remains uncertain, removal may be the more defensible way to establish a suitable base.
Draw the extra thickness at every exposed edge
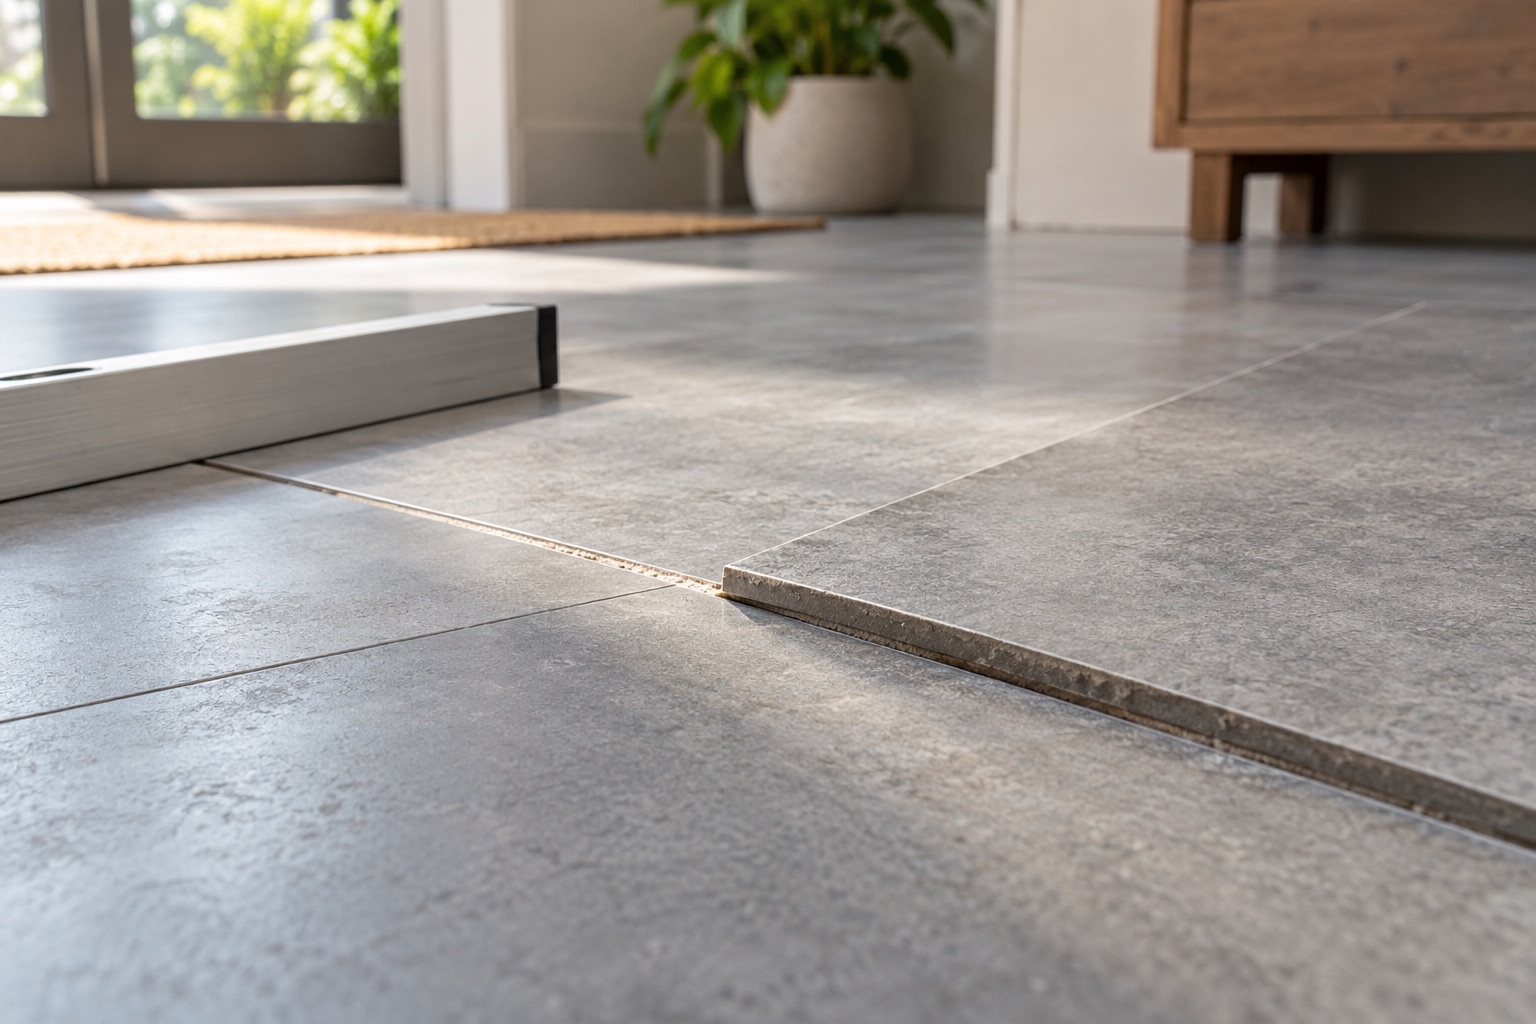
The new assembly adds more than the tile thickness. Primer, mortar and any necessary correction also affect the finished plane. Measure where that plane meets cabinets, countertops, windows, trim and exposed wall ends. Decide how the edges will be covered before buying the tile.
A narrow reveal that looked intentional with the original backsplash can become awkward after overlay. The faucet or a countertop appliance may lose useful clearance. Pattern alignment at a window or cabinet run may also change. Make a small section sketch with actual material dimensions and proposed trim. For a hypothetical backsplash with an exposed side beside a doorway, the required edge treatment may be more conspicuous than the tile field itself. That can make removal preferable even when bonding over the existing tile is technically possible.
Coordinate devices without improvising electrical work
Added wall thickness changes the relationship between the finished surface and receptacles, switches or other devices. Have the appropriate qualified person determine the needed box and device details before tiling. Do not ask a tile installer to conceal an unresolved device condition behind a cover plate or assume longer screws solve every issue.
Mark device openings on the layout and confirm that covers can be removed for service. Cuts should allow the approved device arrangement while maintaining the tile's intended edge appearance. If a device must be relocated, settle that before the new tile locks in the pattern. This article addresses finish coordination, not electrical repair instructions. The practical homeowner check is that the device work has an identified responsible trade and a compliant finished detail, rather than an informal adjustment after grout is complete.
Choose compatible preparation and bonding materials
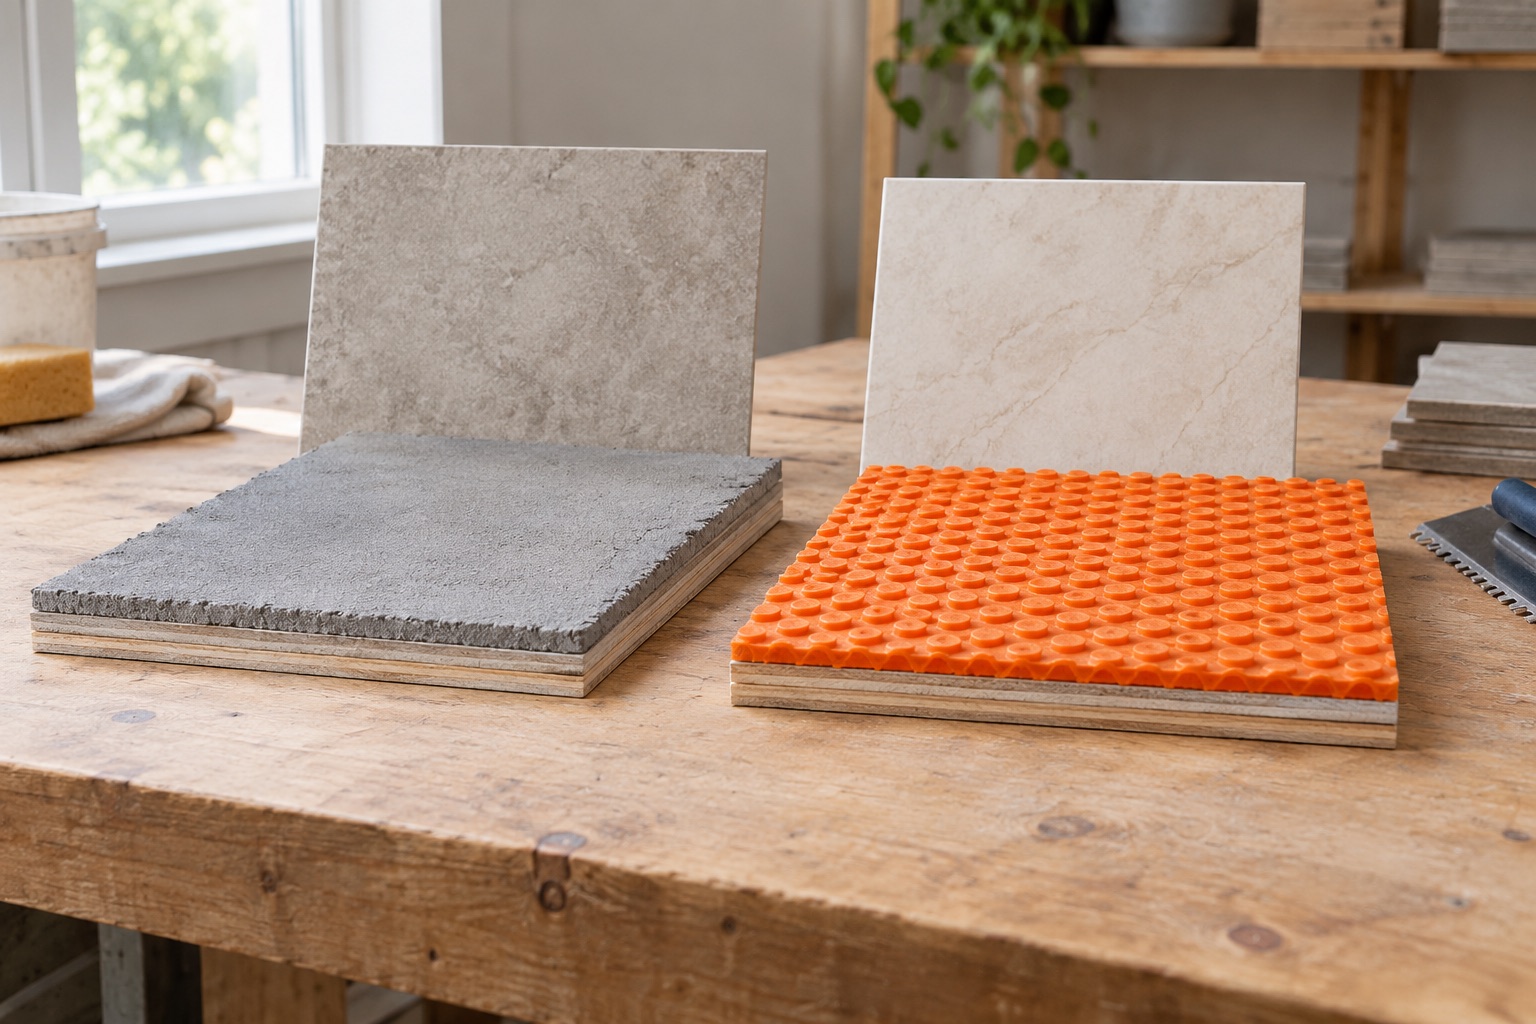
The old surface may be glazed, textured or coated, and each condition affects preparation. Use the primer and mortar combination approved for the actual substrate and tile. Do not assume any adhesive sold for backsplashes will work over a smooth existing tile surface or with a large, low-absorption replacement tile.
Ask for the product names and sequence in writing. If cleaning or surface treatment is required, confirm how residues will be removed and the surface allowed to reach the required condition. Avoid casually grinding old unknown layers, particularly where hazardous materials may be present. The installer should also determine whether the existing wall is sufficiently flat for the new layout. A bond-promoting primer changes adhesion conditions; it does not flatten a wavy wall or secure loose backing.
Compare removal honestly
Removing the old backsplash can damage drywall or other backing, so replacement of that substrate may be part of a realistic removal quote. That does not make removal wasteful. It provides access to inspect the wall and can restore a more predictable plane and edge thickness.
Compare both options with the same finish expectations. An overlay quote that omits edge trim, device coordination and substantial cleaning is not equivalent to a complete removal-and-rebuild quote. Ask what happens if loose tile or damaged backing is discovered during preparation. A defined change point is better than proceeding because the crew has already arrived. Where water damage, major layout changes or uncertain layers are present, opening the wall may provide information that is worth more than the initial labor saved by covering it.
Approve a mockup and inspect the completed boundary
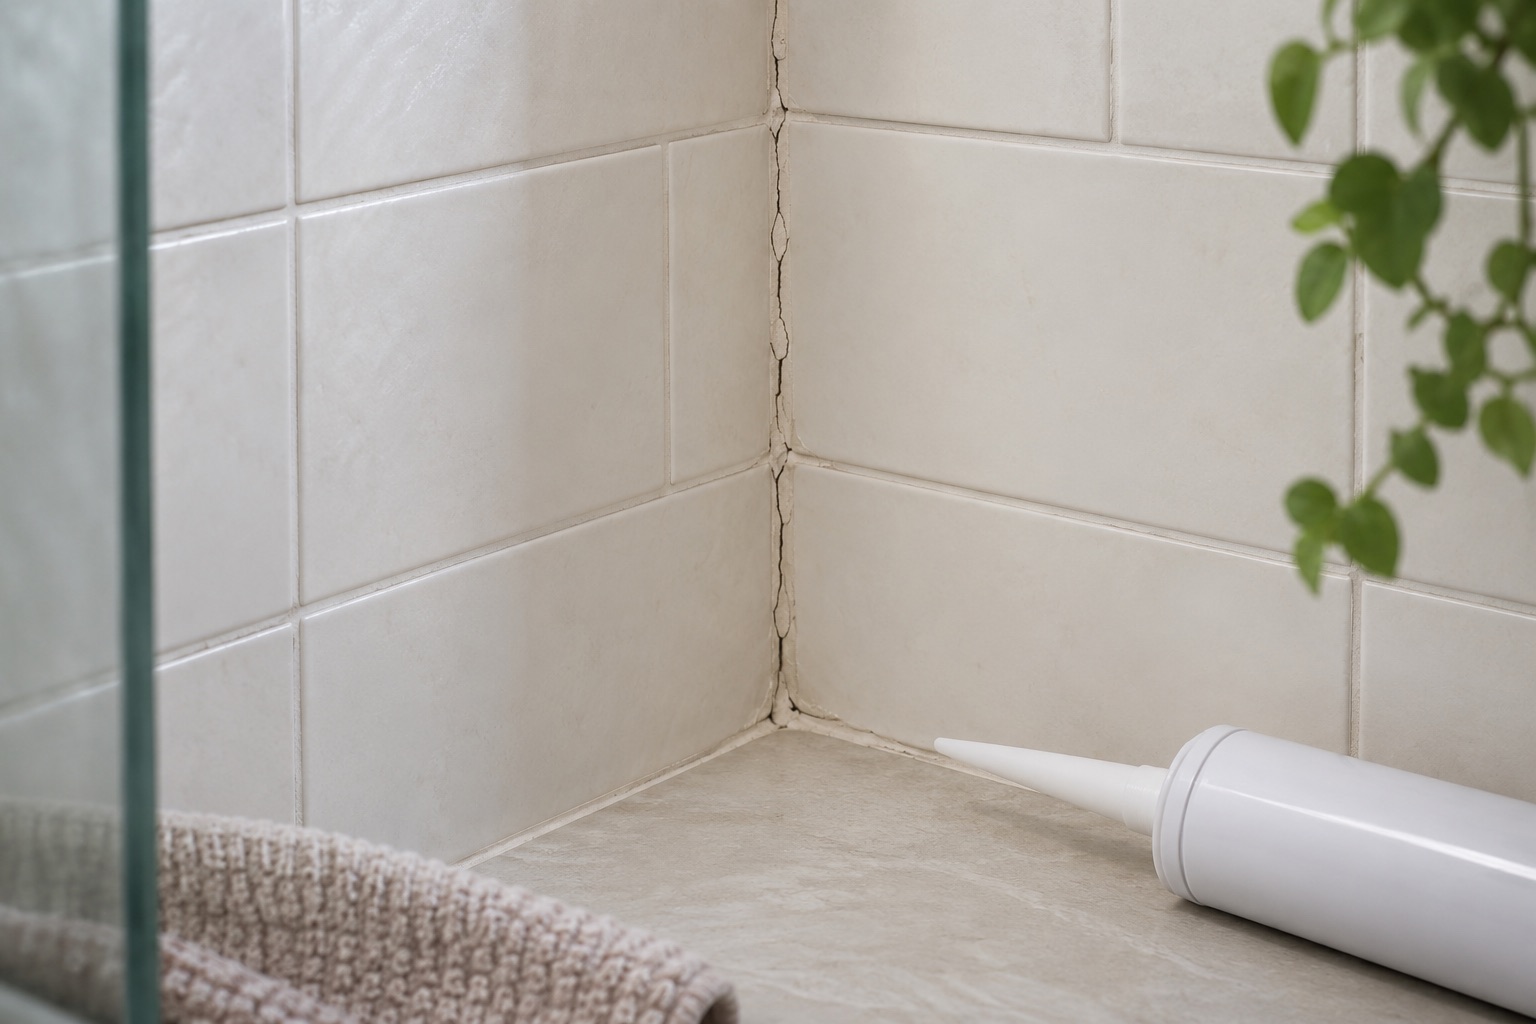
Before full installation, approve a representative detail showing tile, joint, edge trim and an affected device or cabinet boundary. Check that the pattern can continue across the entire run without unintended slivers. Confirm movement-joint treatment where the backsplash meets surfaces that may move differently.
At completion, inspect edges and terminations as carefully as the middle of the wall. Look for residue, unsupported-looking pieces, inconsistent joints and loss of access to devices. Keep the product list and photographs of preparation. A successful overlay should be understandable from those records: the old installation was assessed, the bonding system was suitable and the added thickness was deliberately resolved. It should not depend on hoping that a new decorative layer will hide problems nobody evaluated.
BEFORE YOU PROCEED
Your project checklist
- Verify the old tile and backing are sound.
- Identify grease, sealers and other bond contaminants.
- Draw finished thickness at every visible boundary.
- Assign device and box coordination to the appropriate trade.
- Specify compatible primer, mortar and tile.
- Compare complete overlay and removal scopes.
Questions that come up next
Is tile over tile always bad workmanship?
No. Suitability depends on the old assembly, approved bonding method and finished details.
Will primer make loose old tiles secure?
No. A bond-promoting primer does not repair an unstable existing installation.
EVIDENCE & SCOPE
Sources for this guide
Applies to: United States general material and workmanship guidance; selected-product instructions and applicable local requirements control.
Reddit discussions identify questions and experiences, not verified diagnoses or code requirements. Technical claims should be read with the linked primary source, product instructions and local requirements.
- MAPEI ECO Prim Grip Technical Datamanufacturer
Bond-promoting primer over approved existing tile and substrates. Indexed manufacturer PDF reviewed; the linked HTML page was unavailable during research.
- MAPEI: Can I Install New Tile or Stone Over Existing Tiles?manufacturer
Existing-substrate condition, cleaning, primer and mortar sequence. Indexed Canadian manufacturer FAQ reviewed for material methods, alongside US product guidance.
- Contractor offering to tile over tilereddit
Owner assumes tile over an existing backsplash necessarily indicates bad workmanship. Search excerpt reviewed; the full discussion was not available during research. This is an individual homeowner account.