THE SHORT ANSWER
Uneven tile edges need to be evaluated in context: tile shape, grout width, layout, substrate flatness and the applicable product or installation standard all matter. Leveling clips cannot correct every problem. Record the condition before grouting, compare it with the approved layout and tile guidance, and resolve the cause rather than assuming grout will disguise a raised edge.
Distinguish a raised edge from an uneven-looking surface
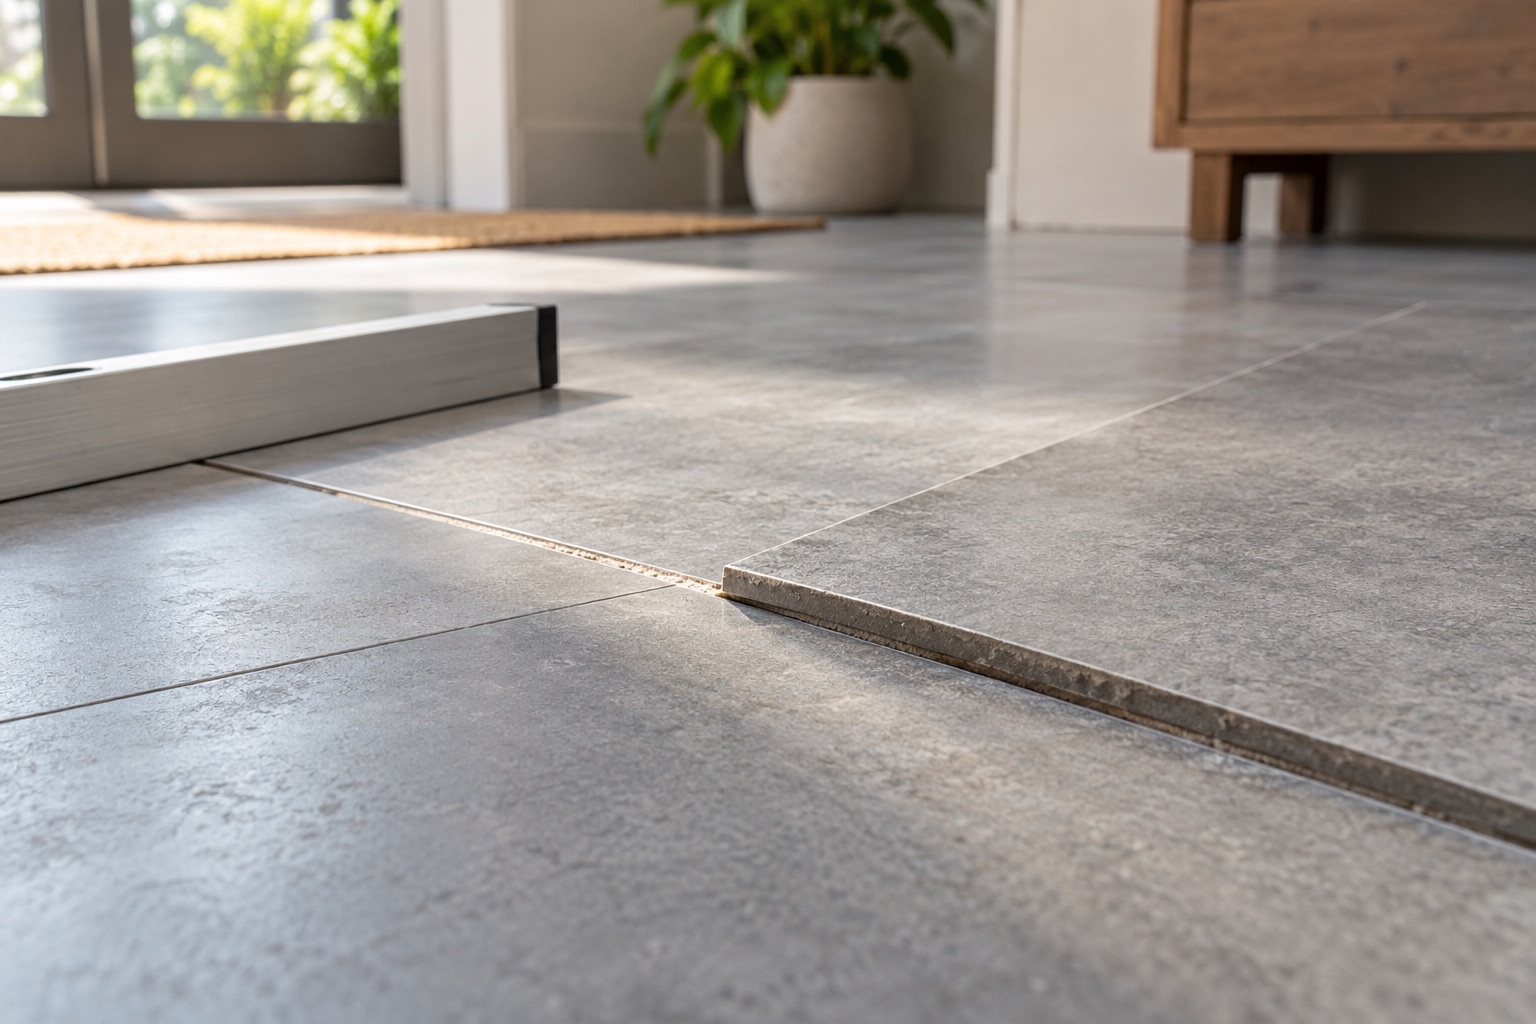
Lippage is a height difference between adjacent tile edges. A shadow can make a small difference appear dramatic, while a visually quiet floor may still have an uncomfortable edge. Tile texture, bevels, grout width and lighting all affect what you see. Describe both the measurable condition and how it affects normal use.
In the large-tile installation discussion behind this article, first-time installers reported significant lipping while wanting to keep the project moving. Continuing without resolving the cause risks repeating the same problem across the room. Mark suspect joints and photograph them before grouting. Avoid judging from a close-up photograph alone: include the surrounding tile pattern and note the viewing direction. These details help distinguish isolated setting defects from a repeating pattern caused by tile shape or layout.
Check the tile itself
Large tiles may have shape variation that affects how neighboring edges meet. Lay representative unused pieces on an appropriate reference surface and have the installer assess them according to the manufacturer's guidance. Do not assume that rectified edges mean every tile is perfectly flat. Rectification concerns edge processing; it does not eliminate all other variation.
Daltile's large-format joint guidance links tile size, joint design and offset patterns. That makes the carton instructions and selected pattern important evidence. Save packaging, lot information and a few unused tiles if a dispute over material condition is possible. A small sample may not reveal the full range within a shipment. If a pattern repeatedly places a high portion of one tile against a low portion of another, the problem may require revisiting layout rather than pressing harder with clips.
Review the approved offset and joint width
A running-bond layout can exaggerate certain tile-shape differences. The appropriate offset depends on the product and applicable guidance; a photograph from another project is not permission to use the same arrangement. Joint width also affects the finished visual result and the assessment of the installation.
Ask whether the layout was dry-laid and approved before setting. If no mockup exists, pause early enough to evaluate one using tiles from the actual batch. View it under the room's intended lighting and compare alternative offsets where the manufacturer allows them. Do not narrow the grout joint simply to imitate a showroom image if the product needs a different allowance. The goal is a repeatable installation that works with the supplied material, not a perfect-looking isolated pair that cannot be reproduced across the room.
Inspect the substrate and setting process
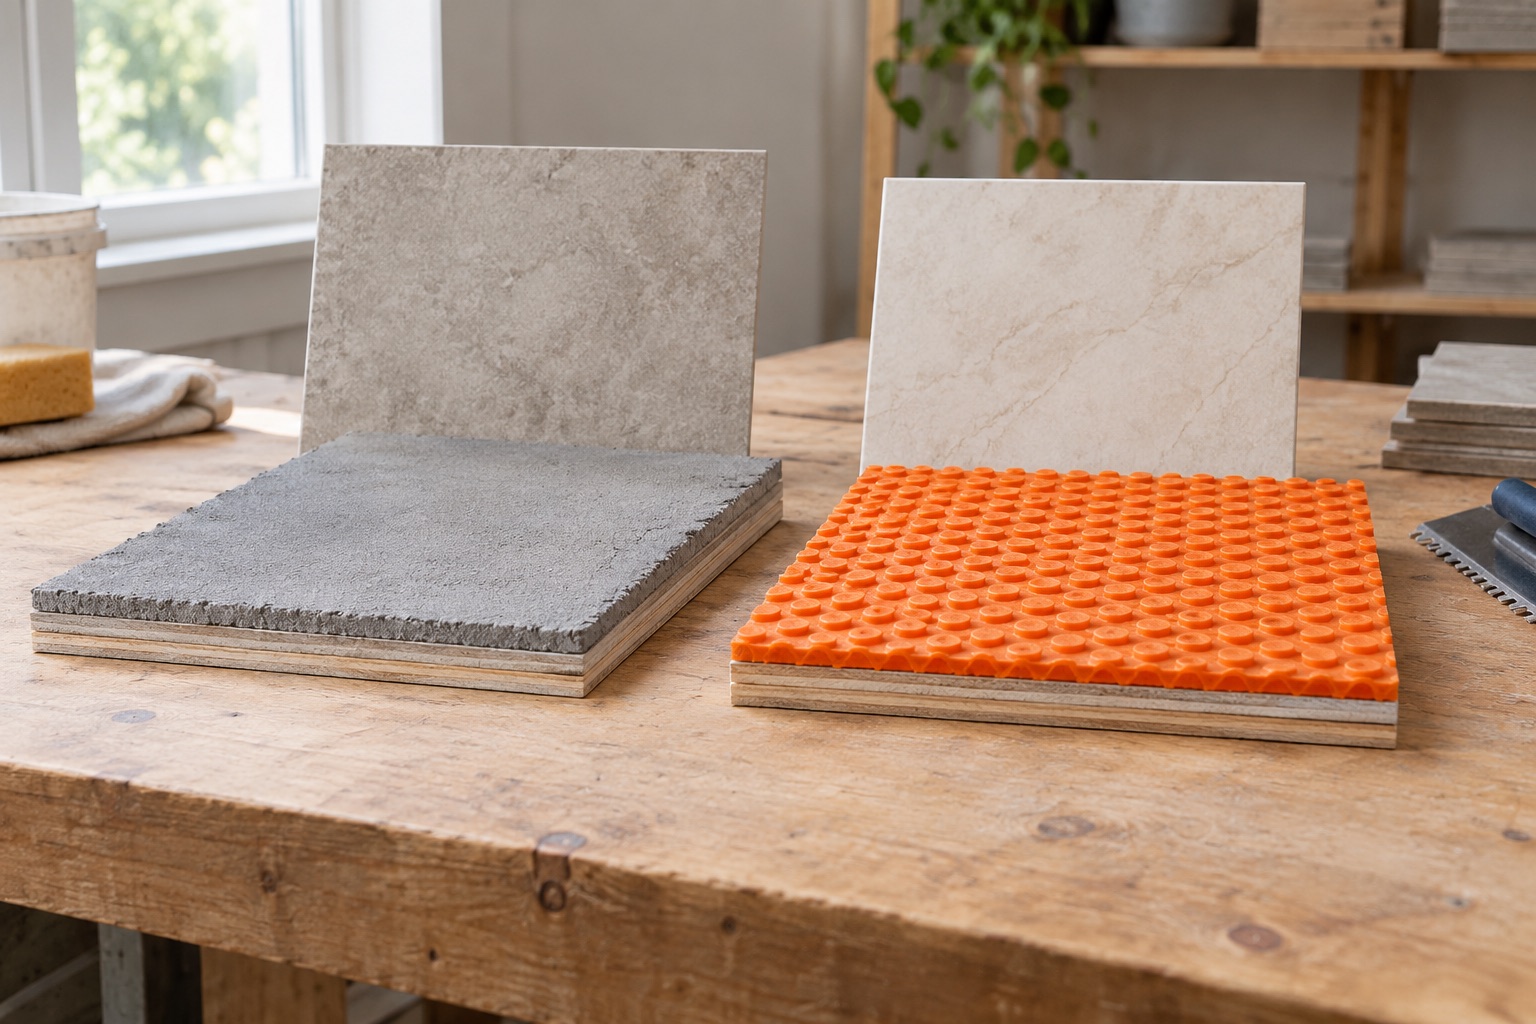
A flat substrate reduces the amount of correction the installer must attempt while setting tile. Large formats can span local variations that smaller pieces would follow differently. Daltile's installation guidance treats preparation as part of the installation, which is why a quote that assumes every floor is ready can be misleading.
Ask how flatness was checked and corrected before setting began. The mortar must also suit the tile and assembly, and the setting method must achieve the required contact. An edge can look aligned while support beneath the tile is inadequate. Leveling clips are installation aids, not substitutes for substrate preparation, tile evaluation or proper bonding. If tiles need to be lifted for investigation, have the installer document what is found before resetting or replacing them. That evidence can distinguish several causes that look similar from above.
Use lighting thoughtfully without dismissing defects
Strong light traveling nearly parallel to a wall or floor exaggerates surface relief. That is relevant when evaluating appearance, especially beside windows or accent lights. It does not mean every complaint is merely a lighting problem. If the room will normally have that light, the design and finish expectations should account for it before installation.
Agree on reasonable viewing conditions and the applicable acceptance criteria. Check both ordinary use and the lighting that will actually remain in the room. A flashlight held at an extreme angle can reveal features that are not meaningful in daily use, but turning off a planned light to hide a defect is not a sound solution. Separate appearance concerns from edges that catch cleaning tools, feel sharp underfoot or affect the intended use. Each requires an explanation rather than a blanket dismissal.
Do not expect grout to level the tile
Grout fills the designed joints. It does not lower a high tile or reliably convert an unacceptable ridge into an acceptable installation. Using grout to build an artificial ramp can change the intended joint profile and make maintenance or appearance worse. Resolve alignment while the setting work can still be assessed.
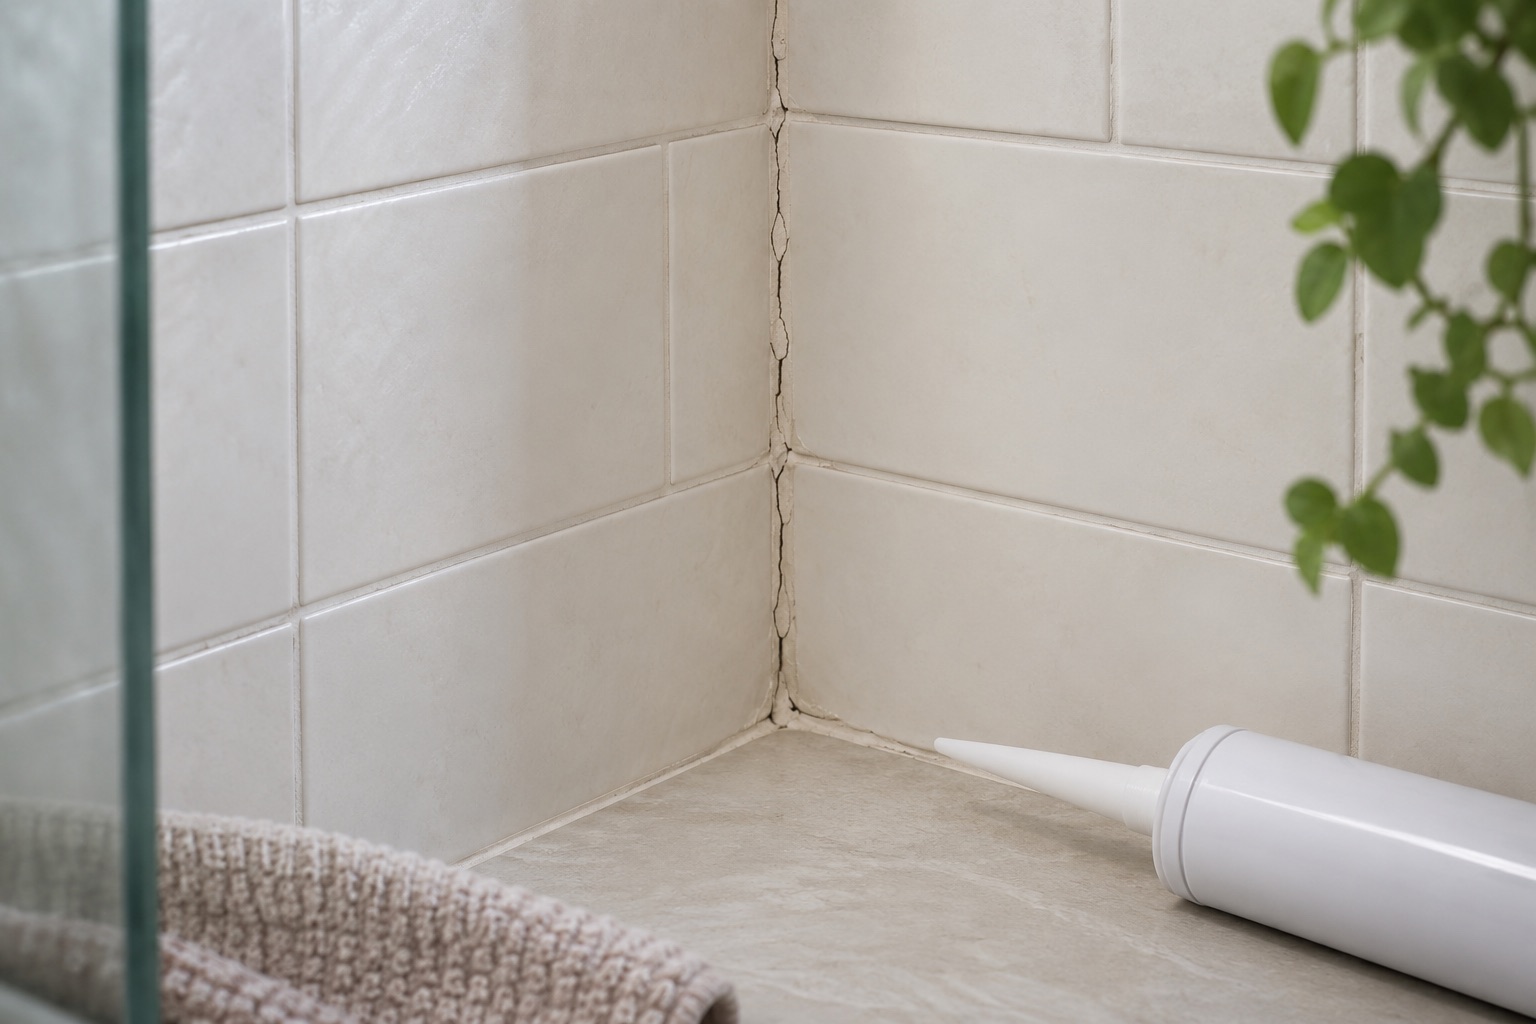
Repair may involve resetting a limited area, changing the remaining layout or addressing a broader preparation problem. Removing tile can damage waterproofing or adjacent materials, particularly in a shower, so the repair scope must include restoration of the underlying assembly. Ask which tiles will be removed, what new materials will be needed and how concealed layers will be verified before retiling. A localized cosmetic repair should not sacrifice the more important water-management function behind the tile.
Accept the corrected work against an agreed basis
The final review should identify the tile product, layout, joint width, viewing conditions and applicable criteria used to judge the work. Avoid inventing a universal allowable lippage number without knowing the tile and standard. If the parties cannot agree, an independent qualified tile assessment may be more useful than exchanging photographs and opinions.
Inspect the repaired area alongside the original work and confirm that grout, sealant and transitions remain consistent. Retain photographs taken before grouting and any documentation of substrate or membrane repairs. For a hypothetical hallway, a pattern change halfway across the room may solve edge alignment while creating a new visual mismatch; that consequence should be approved before proceeding. A successful correction addresses both the technical cause and the appearance the owner will actually live with.
BEFORE YOU PROCEED
Your project checklist
- Record raised edges before grouting.
- Keep tile model, lot and unused samples.
- Compare the offset and joint width with product guidance.
- Review substrate flatness and setting-method evidence.
- Evaluate normal lighting and intended use separately.
- Include membrane restoration when tile removal affects waterproofing.
Questions that come up next
Will leveling clips fix a bowed tile?
They cannot eliminate every material or substrate problem. The tile, layout and assembly still need to meet the relevant requirements.
Can grout hide an uneven edge?
It may change the shadow, but it does not correct tile height. Resolve unacceptable alignment before grouting.
EVIDENCE & SCOPE
Sources for this guide
Applies to: United States general material and workmanship guidance; selected-product instructions and applicable local requirements control.
Reddit discussions identify questions and experiences, not verified diagnoses or code requirements. Technical claims should be read with the linked primary source, product instructions and local requirements.
- Daltile: Grout Joints for Large Format Tilemanufacturer
Warpage, grout width, offset patterns and lippage. Manufacturer guidance; tile-specific recommendations and acceptance criteria can differ.
- Daltile: Large Format Tile Installationmanufacturer
Substrate preparation and large-tile setting. Indexed manufacturer guidance reviewed for substrate preparation and tile installation.
- SOS: Floor Tile Install w/ serious Lippingreddit
Large tiles show substantial height differences and a first-time installer wants to continue immediately. Search excerpt reviewed; the full discussion was not available during research. This is an individual homeowner account.