THE SHORT ANSWER
Once moisture or significant building movement has been evaluated, a recurring drywall joint crack should be repaired as a joint problem: sound support, secure board edges, suitable tape and compound, proper drying and a blended finish. Filling the visible line alone may leave the failed connection unchanged. This guide covers local joint repair, not diagnosis of whole-building structural movement.
Establish that a finish repair is the appropriate next step
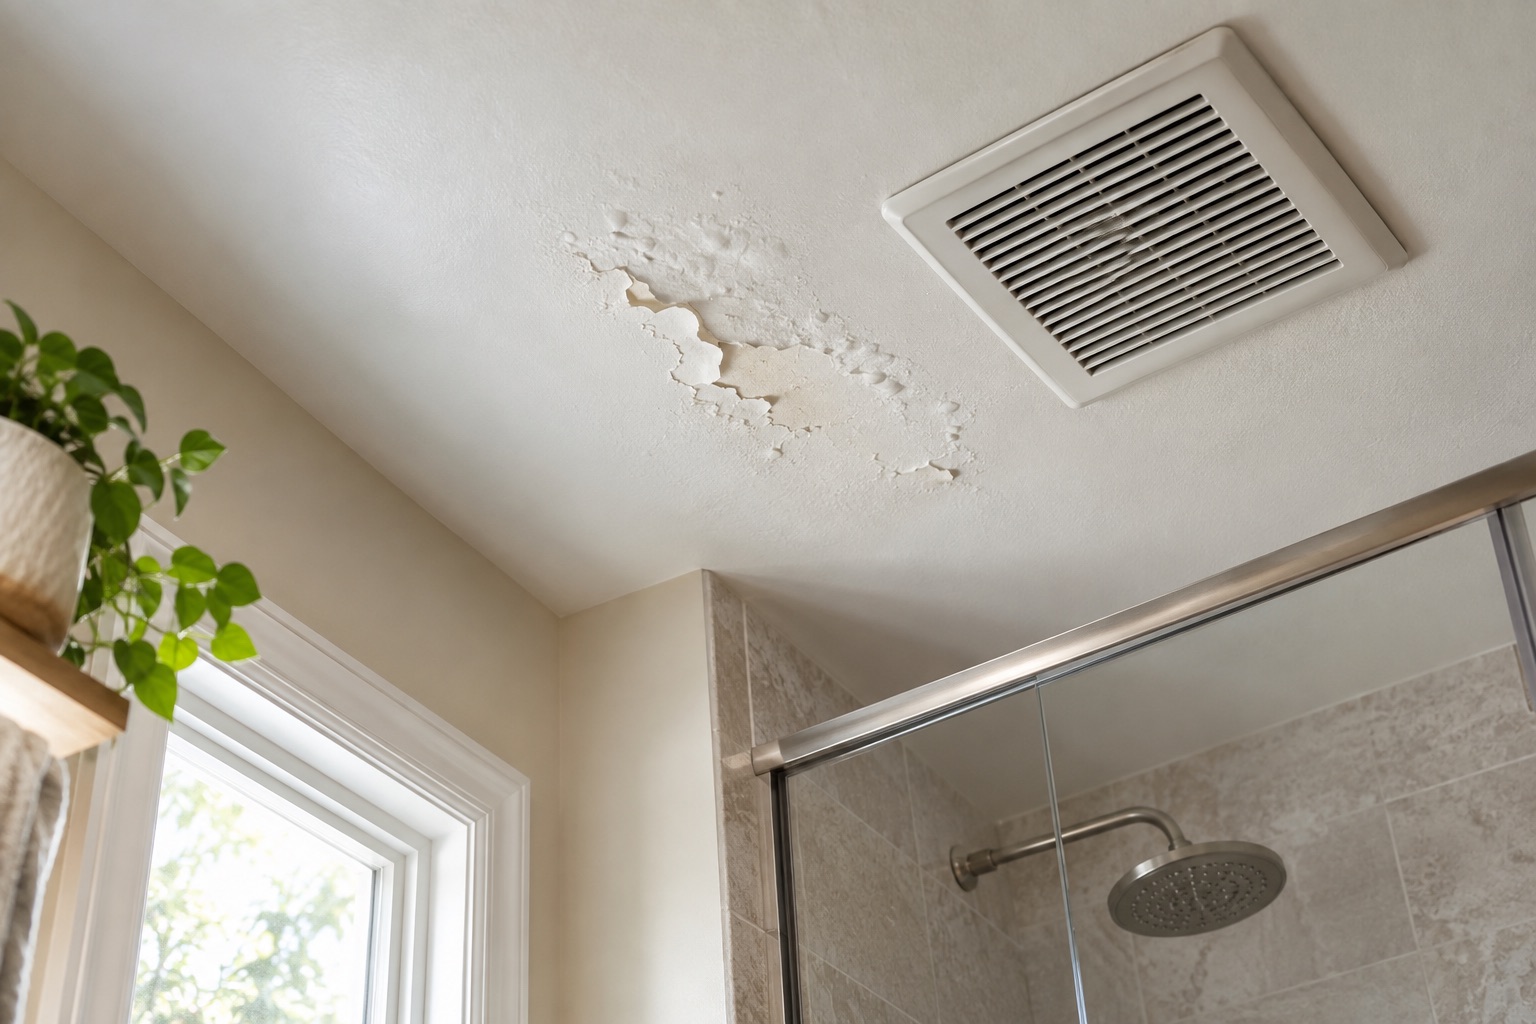
A crack that widens, accompanies distortion or returns with other building changes may need evaluation beyond a drywall repair. Resolve active leaks and relevant movement concerns before selecting a cosmetic method. This article starts after that assessment has established that local board, joint or finishing work is appropriate.
The recurring ceiling-crack discussion behind this guide described a repaired line appearing again soon after patching. That does not prove structural failure, but it does show that filling and taping are not useful guarantees unless the supporting conditions are understood. Record the crack's location relative to board joints, previous patches and framing. Keep the movement assessment with the repair scope so the finisher knows what has been evaluated and what findings would require stopping and referring the issue back.
Find the actual joint and support condition
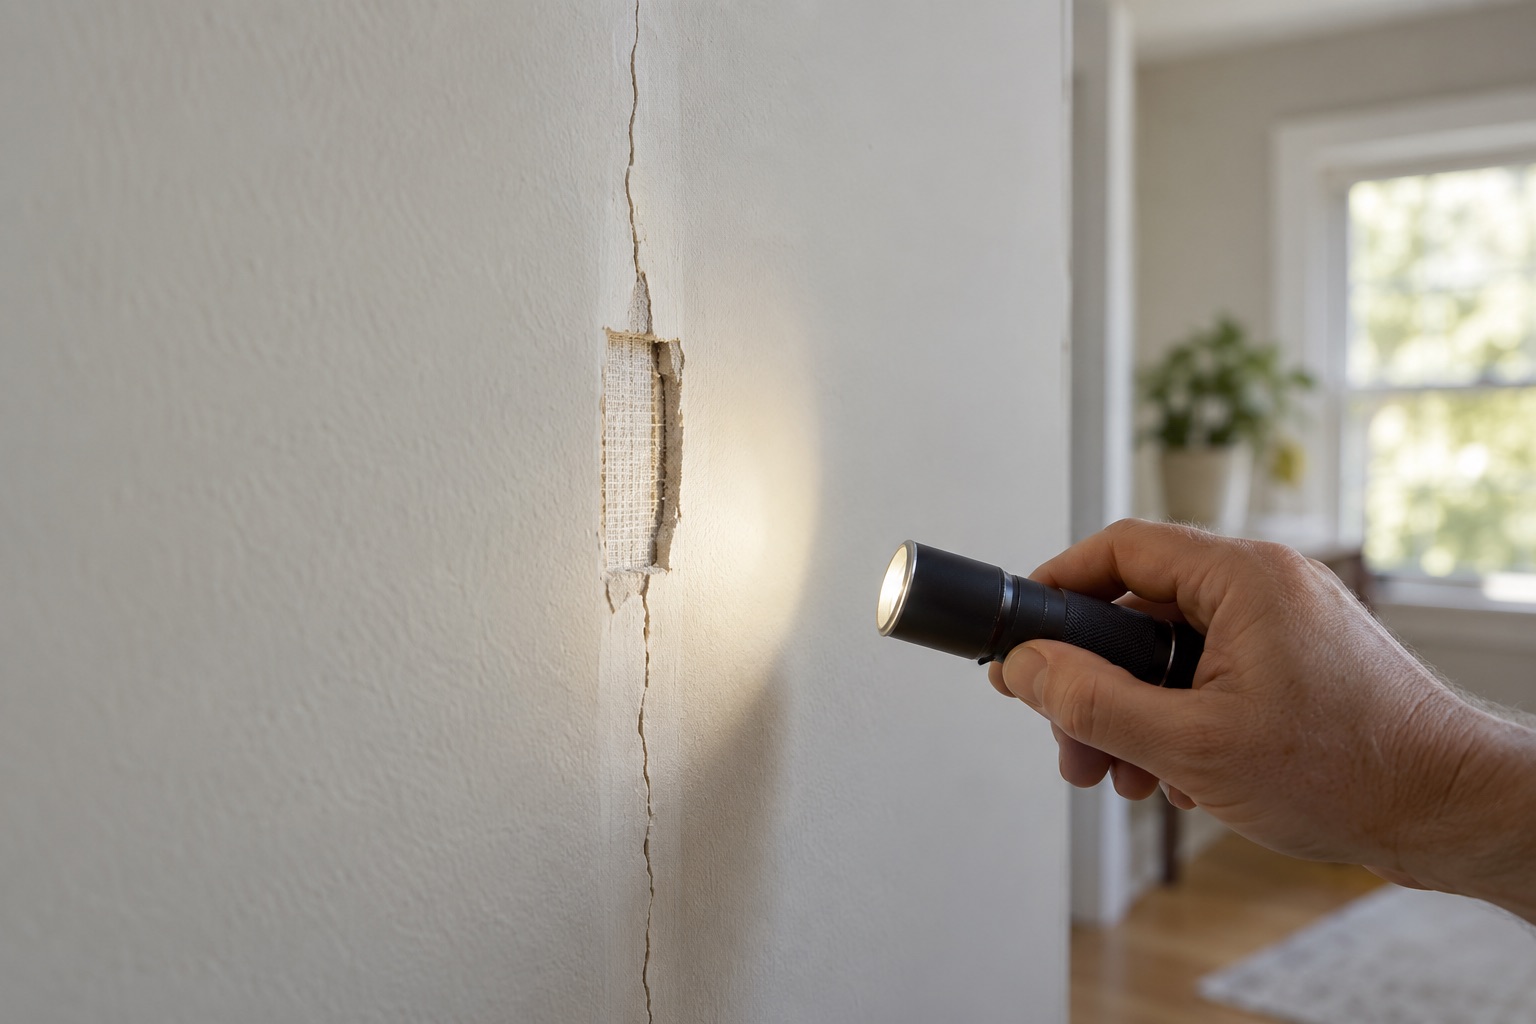
A visible line can follow a board seam, the edge of a patch or a failed tape boundary. Carefully controlled access may be needed to determine which. The repairer should check whether adjacent board edges are adequately supported and secured, rather than assuming the surface crack is the only defect.
Do not add fasteners blindly into a concealed wall or ceiling. Locate the relevant framing and services through an appropriate assessment and use the assembly's fastening requirements. If a patch edge has no suitable backing, the repair may need a larger opening to create a sound connection. A small visible crack can therefore lead to a broader but more reliable local repair. The scope should explain why the chosen boundary provides support rather than simply making the opening as small as possible.
Remove failed material without chasing sound layers
Loose tape, brittle compound or damaged facing can prevent a new joint from bonding properly. The repairer should identify which material is unsound and remove it using a method appropriate to the wall and any old-coating hazards. Avoid tearing a large area merely because the surface line continues beyond the first visible defect.
The CGC/USG problems-and-remedies handbook is a technical reference for distinguishing joint and finish defects. Its material guidance is useful here, while local code and assembly requirements remain separate. Once the failed area is exposed, inspect the board edges and facing before rebuilding. If the substrate crumbles, remains damp or moves unexpectedly, stop and revise the scope. New compound should not be asked to bridge an unresolved material failure beneath it.
Use tape and compound as a compatible repair system
Tape reinforces a joint within the specified finishing system; compound alone may not provide the same function across a moving seam. Tape type, compound and application sequence should be selected together according to the product and assembly instructions. Do not assume any mesh, paper or filler combination is interchangeable.
Ask the repairer how the tape will be embedded and how voids, bubbles or poorly bonded edges will be avoided. A thick layer of compound is not automatically a stronger repair and can make drying and blending more difficult. The work should rebuild the joint in controlled stages rather than attempt to conceal the entire defect in one heavy application. At changes of plane or other special details, use the appropriate assembly method rather than copying the treatment from a flat field joint.
Allow drying under stable conditions
Temperature, humidity and moisture in the materials affect finishing work. USG's jobsite-environment guidance explains how environmental conditions relate to joint appearance and drying. A repair rushed between unstable conditions can produce defects that are then mistaken for the same original crack.
Follow the compound and coating instructions for the actual conditions. Do not apply the next layer merely because the surface looks lighter or because a fixed schedule calls for paint that afternoon. Distinguish setting from drying where the chosen material requires that distinction. Ask how the room will be kept within the product's required range and how readiness is assessed. If the project has ongoing wet work or an unresolved moisture source nearby, coordinate that sequence before finishing the joint.
Blend the repair into the wall plane
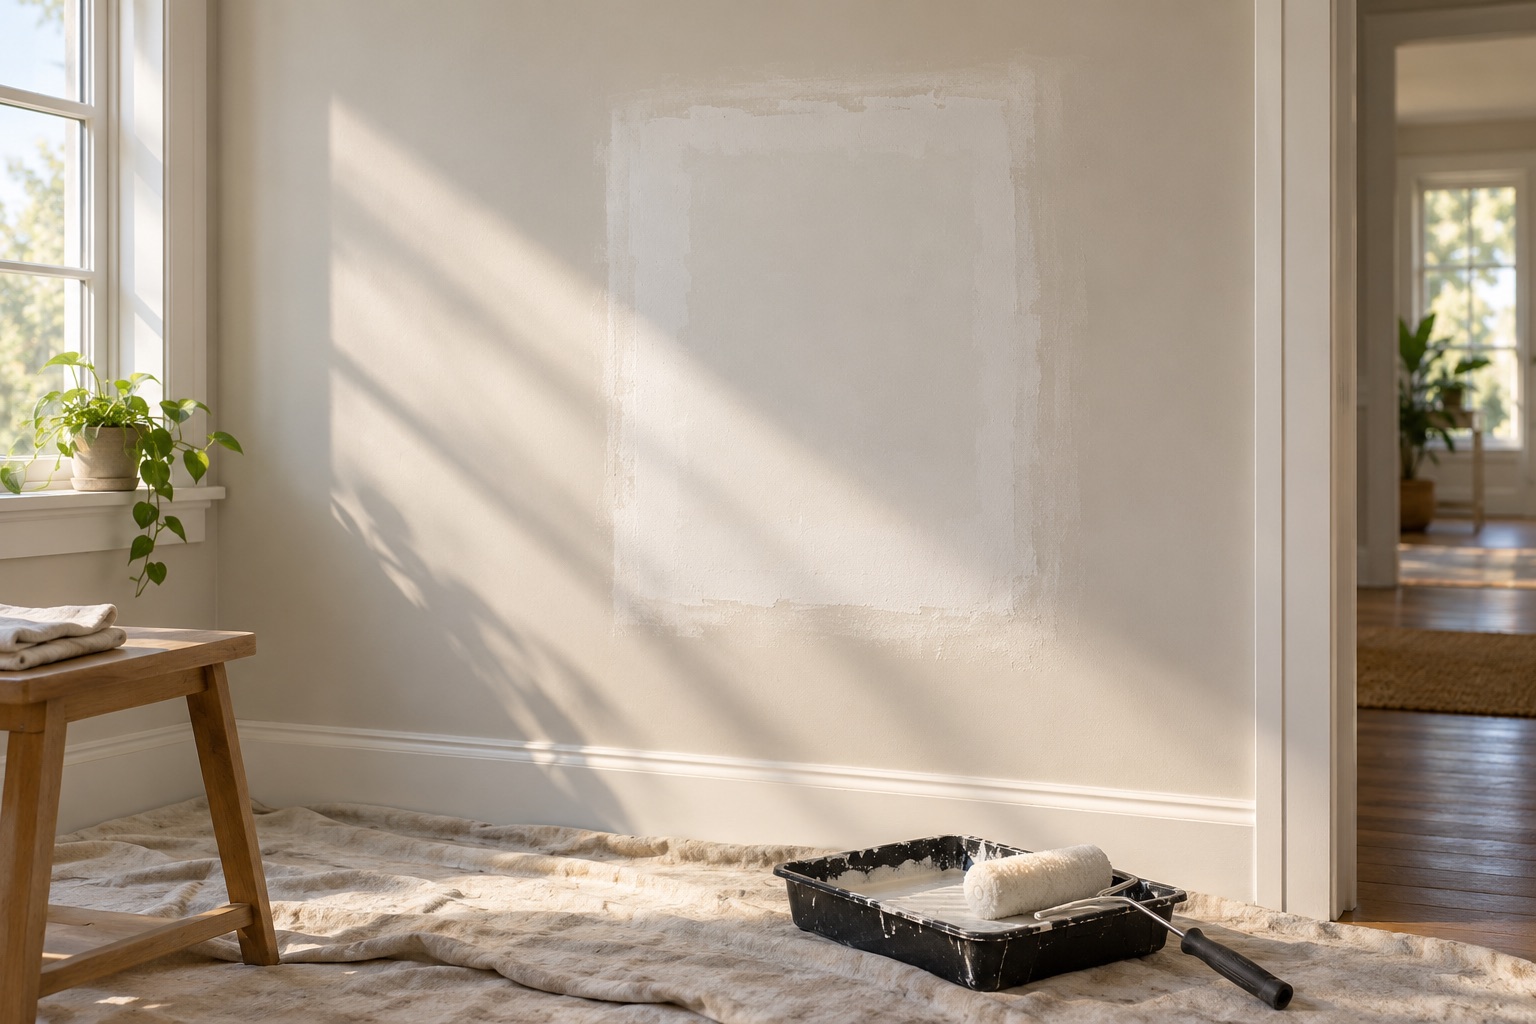
After the joint is sound, appearance still needs attention. Feather the repair over an appropriate area so the boundary does not form a ridge. Match the surrounding texture and prepare the surface for a uniform paint finish. A strong repair can remain conspicuous if its profile or absorption differs from the wall.
Inspect with the lighting that will normally reveal the surface, especially near windows or ceiling fixtures. Decide whether painting the repaired area alone can meet the expected result or whether a larger wall or ceiling plane needs recoating. That decision should be made before promising an invisible patch. Protect nearby trim and finished surfaces during sanding and painting, and use suitable dust controls. The finishing stage should improve the repaired plane without damaging the sound facing around it.
Document the repair and define a return trigger
Keep photographs showing the exposed joint, support corrections and tape stage, along with the products used. Note the date and any relevant conditions. At completion, review the surface after the coating is ready and compare it with the agreed finish.
If the line reappears, the record helps distinguish another local adhesion defect from movement that the earlier assessment did not fully capture. Do not automatically repeat the same patch indefinitely. Agree that renewed cracking, dampness or changed geometry will trigger another cause review. The objective is a durable local joint repair after appropriate evaluation, not a cosmetic promise that any building movement can be hidden permanently. Sound backing, compatible materials and deliberate drying make the repair reviewable and give a later investigator useful evidence if conditions change.
BEFORE YOU PROCEED
Your project checklist
- Confirm movement and moisture concerns were evaluated.
- Locate the actual board joint or patch boundary.
- Check support and attachment without blind fastening.
- Remove failed tape and compound while preserving sound material.
- Use a compatible tape-and-compound system.
- Record concealed repair stages and triggers for reassessment.
Questions that come up next
Can I just fill the line with spackle?
That may conceal it temporarily while leaving failed tape, support or movement unresolved. Assess the joint first.
Does a recurring crack always mean structural failure?
No. Local joint defects can recur, but changing cracks or associated building symptoms need the appropriate broader evaluation.
EVIDENCE & SCOPE
Sources for this guide
Applies to: United States general material and workmanship guidance; selected-product instructions and applicable local requirements control.
Reddit discussions identify questions and experiences, not verified diagnoses or code requirements. Technical claims should be read with the linked primary source, product instructions and local requirements.
- Ceiling Crack Reappears After Mud Patch?reddit
A retaped and filled ceiling crack returns after drying, raising questions about cause and repair strategy. Search excerpt reviewed; the full discussion was not available during research. This is an individual homeowner account.
- USG: Evaluating Jobsite Environmental Conditionsmanufacturer
Drying, moisture movement, ridging and fastener/joint appearance. Indexed manufacturer guidance reviewed for jobsite conditions and joint appearance.
- CGC/USG Construction Handbook: Problems, Remedies and Preventive Measuresmanufacturer
Joint defects, cracking and finish flashing. Canadian handbook cited for material behavior; it is not US code authority.