THE SHORT ANSWER
A visible drywall patch is not always a paint-coverage problem. Raised compound, mismatched texture, uneven absorption, sheen and color can each make a repair stand out. Identify which difference changes with the light and viewing angle, then correct that layer. More paint will not flatten a ridge, and extra sanding will not necessarily solve a sheen mismatch.
Look at the patch from two directions
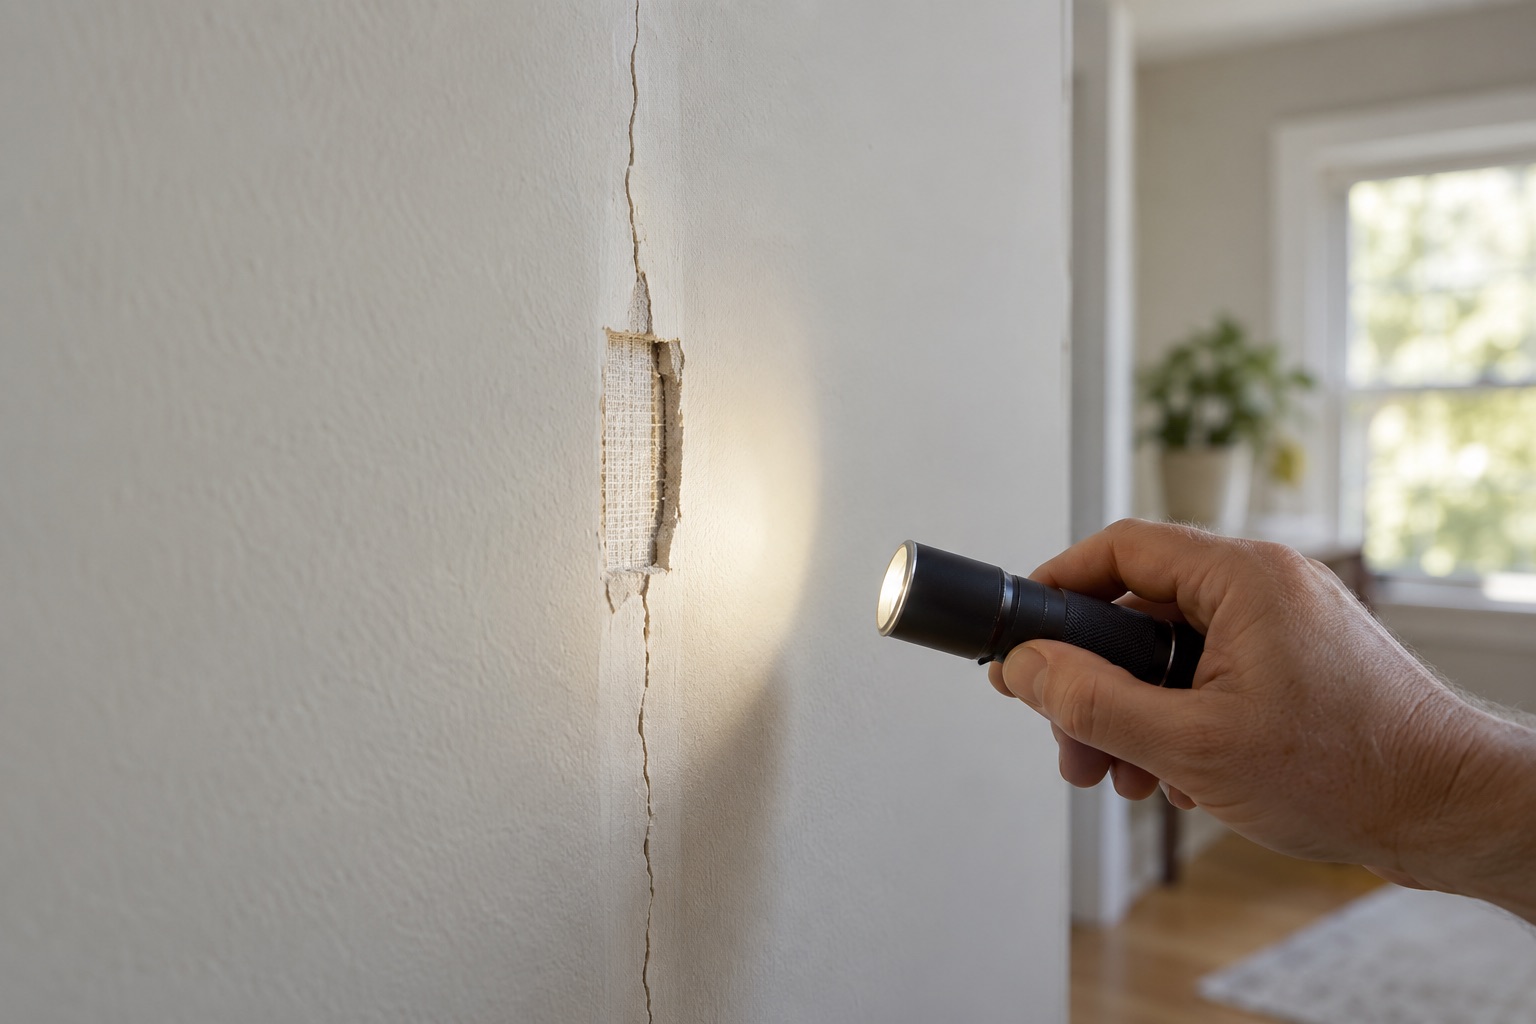
Inspect the repair head-on and from the side under the room's normal lighting. A shape that becomes prominent in grazing light may be a profile or texture problem. A color or sheen difference can remain visible from other angles. Photograph both views before choosing another repair step.
The drywall-patch discussion behind this article involved work that looked acceptable from the front but showed marks from the side. That distinction is useful because a single photograph can make several defects look similar. Move the light or your position without assuming that the harshest possible angle is the acceptance standard. If a window or permanent fixture normally creates that light, however, it should influence the finish expectations. The goal is to understand the visible difference rather than repeatedly coating the same unidentified problem.
Check the surface profile first
Use an appropriate straightedge or inspection method to determine whether the repair is proud of the surrounding wall, has a ridge at its boundary or dips in the center. Avoid pressing hard enough to damage the surface. A broad shallow transition can be less visible than a small abrupt edge even when both appear smooth to a hand.
USG's finishing and decorating guidance distinguishes surface preparation and finish levels, which helps explain why paint cannot correct every underlying shape. If the profile is wrong, the repair may need controlled feathering or additional compound rather than another topcoat. Assess the full repair boundary, not only the original hole. Do not sand through the wall facing in an attempt to erase a raised area that requires a different compound transition.
Compare texture separately from smoothness
A patch can be flat but have a different texture from the surrounding painted wall. Roller stipple, sprayed texture, brushed areas and repeated old paint layers can all affect the comparison. A perfectly smooth new patch may be conspicuous inside a wall with a consistent fine texture.
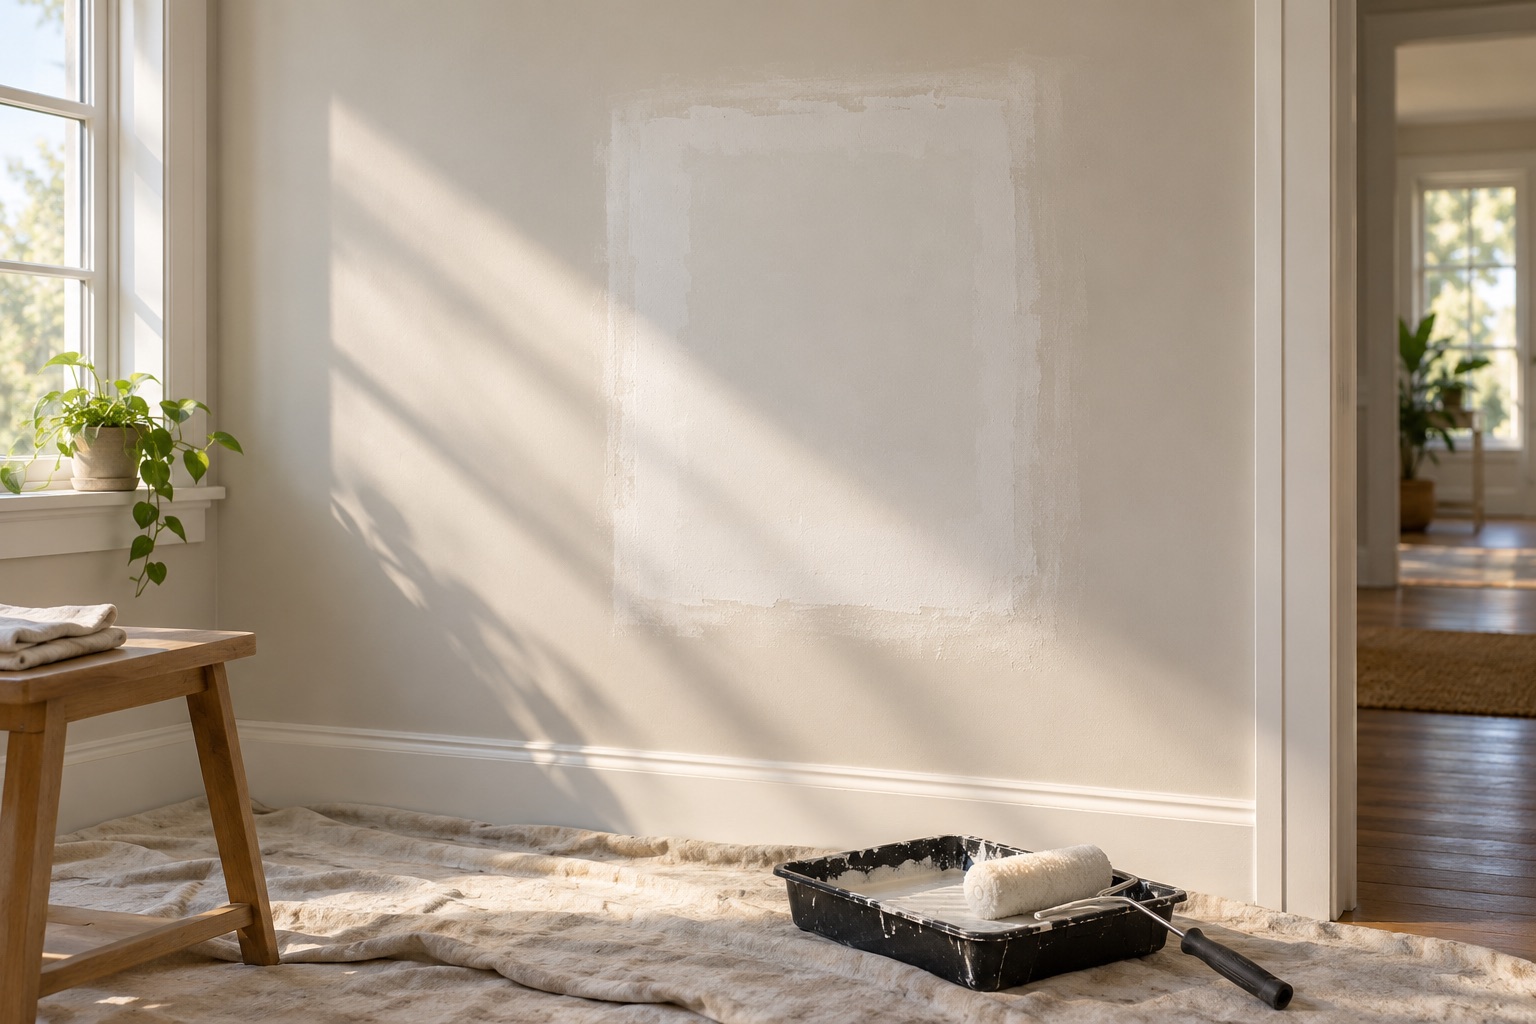
Make a small trial of the intended finishing and application method before treating the whole wall. The roller, coating and application technique should be selected as a system, with enough area to judge the result. Do not assume a canned texture product automatically reproduces the existing pattern. If the wall has an unusual or heavily layered finish, a larger-area treatment may produce a more consistent result than endless adjustment of the patch alone. Agree on the intended texture before final paint hides the preparation work.
Control absorption with suitable preparation
Bare joint compound and an existing painted surface may take up a coating differently. That can affect the final appearance even when the same paint is used. Dust left after sanding or an unsuitable preparation product can create additional problems.
Sherwin-Williams' guidance on paint flashing addresses differences in appearance associated with surface and coating conditions. Follow the selected primer and topcoat instructions for the actual repair. A product labeled paint-and-primer does not mean every repaired surface can skip the preparation needed for a uniform result. Clean and prepare the area using a method appropriate to the materials and any old-coating hazards. Let repairs and primer reach the required condition before applying finish paint. Rushing through damp layers can make the final appearance difficult to evaluate.
Check color and sheen after the coating is ready
An old can may no longer produce a perfect match to a wall that has aged, been cleaned or received sunlight. Even a new can mixed to the same color can look different when sheen, application or substrate conditions differ. Compare only after the coating has reached the manufacturer's stated evaluation or cure condition.
Spot touch-up can be acceptable in some circumstances, but it should not be promised as invisible everywhere. Consider the size and location of the patch and the room's lighting. A hypothetical small repair behind furniture has different visual stakes from a patch beside a large window. If matching remains poor after proper preparation, repainting the entire wall plane may provide a more consistent result. That is an appearance decision to make explicitly, not a hidden assumption that every small repair includes a whole-room repaint.
Choose the smallest repair that addresses the right layer
If the patch is raised, correct its shape. If the texture differs, address the texture. If absorption or coating application is the issue, use the appropriate primer and finish sequence. Several problems may coexist, so the order matters: a uniform coating over a ridge still leaves a ridge.
Before sanding or disturbing older surfaces, resolve relevant lead or other material hazards. Protect the occupied area and control dust from the work. Avoid repeatedly removing sound finish merely because a color mismatch remains. Ask the painter or finisher to describe the specific defect and the proposed correction. A clear explanation should connect an observed condition to a repair step, rather than adding another coat or more sanding as a default response to every visible patch.
Review the result against agreed lighting and finish
Agree on the viewing conditions and expected level of uniformity before the final repair. Use normal room lighting and include permanent lights or windows that materially affect the surface. An extreme handheld light can reveal minute variations, but turning off a planned fixture is not a reasonable way to conceal a prominent defect.
At completion, inspect the patch boundary, texture and sheen after the required drying period. Check that nearby trim, corners and surfaces were protected. Retain the primer, paint color and sheen information for future maintenance. The strongest result comes from diagnosing the layer that caused the contrast. That approach avoids wasting paint on a geometry problem or sanding a sound surface when the real issue is an incompatible finish or an unrealistic spot-match expectation.
BEFORE YOU PROCEED
Your project checklist
- Inspect the patch head-on and in normal side light.
- Check profile and feathered boundaries before painting.
- Match surrounding texture through a representative trial.
- Prepare repaired and existing surfaces for uniform absorption.
- Evaluate color and sheen after the coating is ready.
- Agree whether a whole-wall repaint is included if spot matching fails.
Questions that come up next
Will another coat hide a raised patch edge?
No. Correct the surface profile before relying on paint for appearance.
Why does the same paint look different over compound?
Absorption, texture, sheen, application and aging can affect the match; identify which factor is responsible.
EVIDENCE & SCOPE
Sources for this guide
Applies to: United States general material and workmanship guidance; selected-product instructions and applicable local requirements control.
Reddit discussions identify questions and experiences, not verified diagnoses or code requirements. Technical claims should be read with the linked primary source, product instructions and local requirements.
- Drywall Patchreddit
Patch looks acceptable head-on but shows lap/finish differences under side light. Search excerpt reviewed; the full discussion was not available during research. This is an individual homeowner account.
- Sherwin-Williams: How to Fix Paint Flashingmanufacturer
Porosity, sheen, drying conditions and primer. Manufacturer explanation of finish-appearance differences; geometry and texture require separate assessment.
- USG: Finishing and Decorating Gypsum Panelsmanufacturer
Finish levels, sanding, surface preparation and HEPA dust extraction. Indexed manufacturer technical guidance reviewed for gypsum finishing and decorating.