THE SHORT ANSWER
Inspect the geometry before filling a baseboard gap. An out-of-square corner, tilted board, mismatched profile or loose fastening needs a different correction from a small finish joint. Coped inside corners and adjusted miters can each have appropriate uses. Paintable sealant can finish a suitable minor joint, but it should not disguise a large miscut or unstable trim.
Name the gap you are trying to fix
A gap at the top of baseboard is different from a wedge-shaped corner opening, a short board or a space above an uneven floor. Identify where it begins and whether its width changes. Photograph the joint with both adjoining pieces visible. Do not judge a corner from a close-up that hides how the boards sit against the wall.
The baseboard-gap discussion behind this article raised questions about acceptable fit and coping. The useful first step is to check the whole detail: wall angle, board position, profile and attachment. A narrow opening may need only finishing, while a similar-looking gap can result from a board leaning away from the wall. Filling first can hide the evidence and leave the joint likely to reopen when the trim is pressed or moves.
Check wall angle and board position
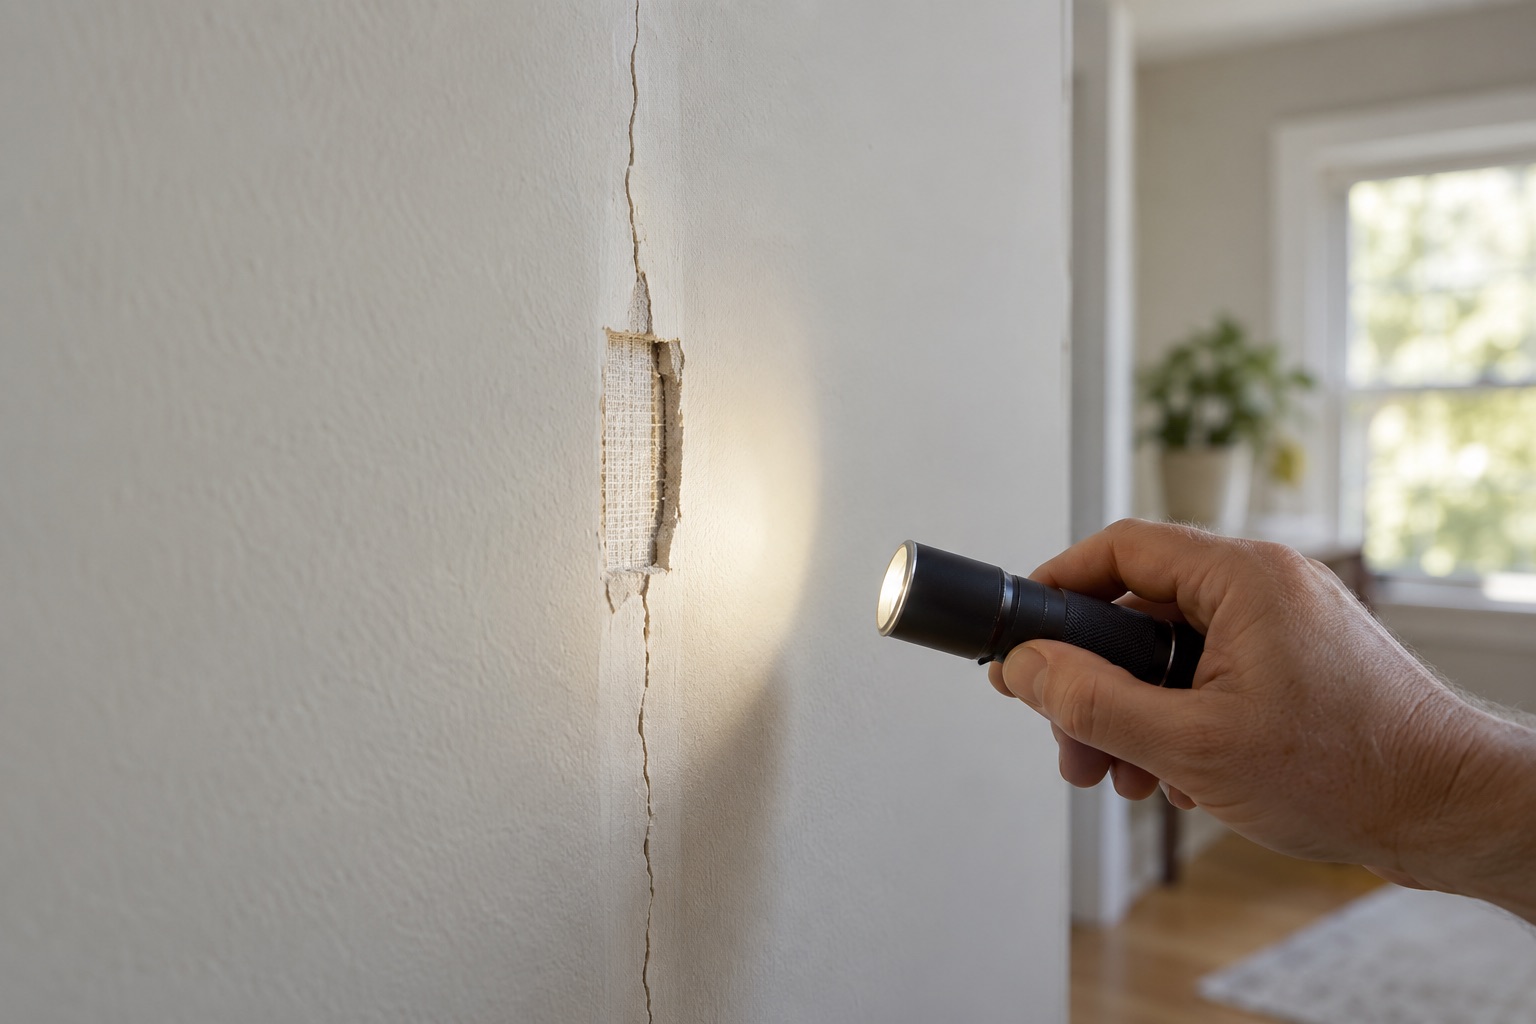
Rooms are not guaranteed to have exact square corners or perfectly plumb wall surfaces at floor level. Measure the actual corner and inspect the lower wall where the baseboard rests. Drywall irregularities or missing support near the floor can tilt a piece enough to open a joint that was cut accurately on the saw.
Set short test pieces in position before cutting the final lengths. Check their height, face alignment and relationship to the floor. A miter that appears correct on a workbench can separate once the boards lean differently against the wall. Do not force a long piece into a distorted position simply to close one corner. The fitter should decide whether a local support adjustment, scribing or a revised cut is needed, while maintaining a consistent visible line.
Choose the joint to suit the profile and finish
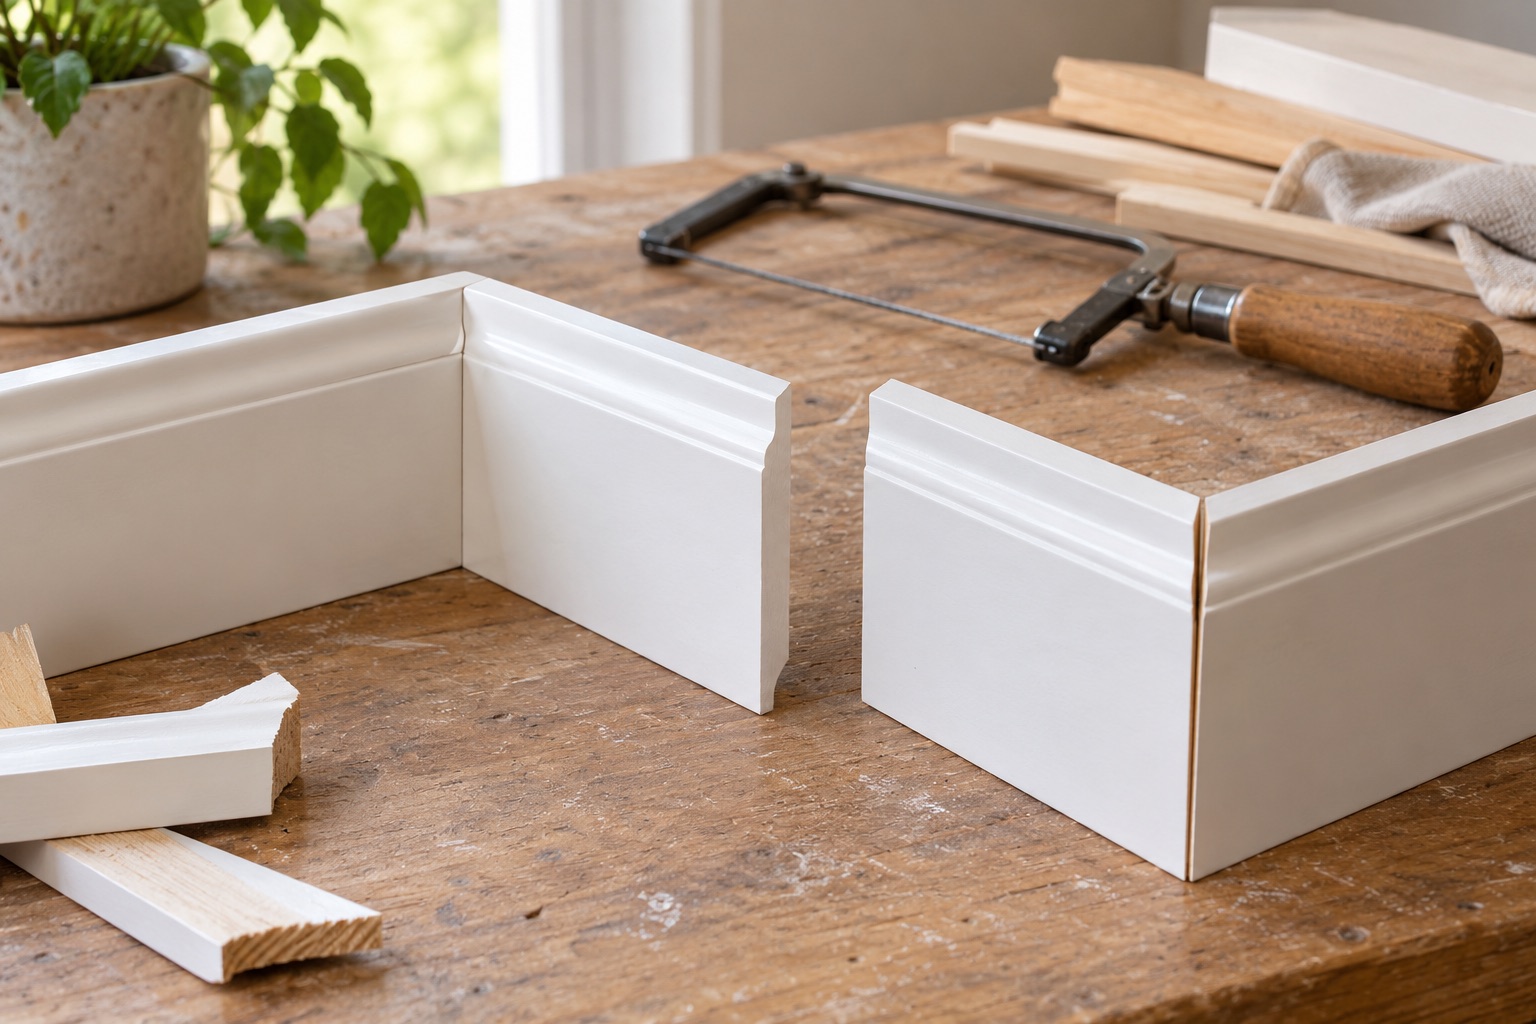
A coped inside joint fits one shaped profile over the adjoining piece. A miter joins angled cuts. Simple flat profiles may allow other appropriate details, while outside corners generally need a different treatment from inside ones. The choice depends on the profile, material, finish and installer skill.
Metrie's baseboard guidance provides context for profiles and installation planning. Do not assume every corner should receive two identical saw settings without measuring. For shaped trim, practice on offcuts so the visible profile meets cleanly before cutting a full-length piece. For stained material, exposed filler and end grain may be more conspicuous than on painted trim. Agree on the intended joint appearance before installation rather than deciding later that heavy caulk will make every approach equivalent.
Correct fit and fastening before applying filler
A board that moves under ordinary pressure needs its attachment or support addressed. Sealant should not be used as the primary means of holding a misaligned piece in place. Check whether a short piece has been cut too short or whether an outside corner is mismatched; recutting may produce a cleaner and more durable result than filling the void.
Fastening must account for the wall construction and concealed services. Avoid adding nails or screws blindly simply because a gap needs closing. Where the floor covering is floating, coordinate trim so it does not restrain the movement required by that product. This is especially important when replacing baseboards after new flooring. The trim should conceal the appropriate perimeter detail without changing how the floor is intended to perform.
Use paintable sealant for the joint it can handle
For suitable minor paint-grade gaps, a compatible flexible sealant can complete the finish. DAP's ALEX FLEX product guidance identifies molding and trim uses and emphasizes clean, dry preparation. Follow the current product instructions for joint limits, application and painting rather than treating caulk as an unlimited gap filler.
Remove failed material and contamination before applying a new bead. Tool the joint neatly without spreading a wide shiny band across the board and wall. Check compatibility with existing coatings and avoid assuming a paintable product will adhere over every old sealant. Large irregular voids may need a different construction repair or backing detail. A thick bead that temporarily looks smooth can shrink, collect dirt or reveal the underlying geometry more clearly after painting.
Distinguish floor gaps from wall gaps
Baseboard installed along an uneven floor may show variable space below. The appropriate treatment depends on the flooring system, trim design and intended appearance. Scribing, a compatible shoe detail or correcting the underlying installation may be considered, but none should interfere with required floor movement.
Do not automatically caulk the baseboard to a floating floor to make the line look continuous. Check the flooring instructions and the selected trim arrangement. Also consider cleaning and maintenance: a detail that traps dirt or bonds trim to a replaceable surface may be inconvenient later. For a hypothetical old room with a gently uneven floor, a carefully fitted trim solution can preserve character without forcing the floor flat through fastening. The repair should address the actual condition rather than impose one cosmetic rule everywhere.
Review a sample corner before completing the room
Approve a representative inside corner, outside corner and termination where possible. View them from normal standing positions and under the room's usual lighting. Confirm that the profile, joint method and paint finish meet the agreed expectation before the same detail is repeated around the room.
At completion, check loose sections, open miters, heavy filler, exposed end grain and inconsistent heights. Inspect terminations beside door casings as well as corners. Keep the trim profile information and a few useful offcuts if future repairs are likely. A successful baseboard installation accommodates the room's geometry while preserving a clean line. It should not depend on a thick layer of caulk to make short, tilted or poorly attached pieces appear to fit.
BEFORE YOU PROCEED
Your project checklist
- Identify whether the gap is at wall, floor or corner.
- Measure the actual corner and check board plumb.
- Test the joint on offcuts of the real profile.
- Correct loose attachment and major miscuts before finishing.
- Use sealant within its stated joint and coating limits.
- Keep trim from restraining an approved floating-floor detail.
Questions that come up next
Should every inside corner be coped?
Not necessarily. Profile, material and finish affect the appropriate joint; the fit still needs to be deliberate.
Can I caulk a large corner gap?
A large or unstable gap usually deserves a fit or construction correction before cosmetic sealing.
EVIDENCE & SCOPE
Sources for this guide
Applies to: United States general material and workmanship guidance; selected-product instructions and applicable local requirements control.
Reddit discussions identify questions and experiences, not verified diagnoses or code requirements. Technical claims should be read with the linked primary source, product instructions and local requirements.
- DAP ALEX FLEX Molding and Trim Sealantmanufacturer
Paintable trim joints and application limitations. Current manufacturer product page reviewed, with application limits and technical-document links.
- Metrie: Baseboard Trim and Mouldingmanufacturer
Trim profiles and installation planning. Indexed manufacturer guidance reviewed for trim selection and installation planning.
- Acceptable gap in baseboard?reddit
Owner is unsure when a trim joint gap is workmanship, wall geometry or something caulk can reasonably conceal. Search excerpt reviewed; the full discussion was not available during research. This is an individual homeowner account.