THE SHORT ANSWER
Water near an exterior door can come from the door's drainage system, weather seals, sill interfaces or the surrounding opening. Identify whether water is contained where the product is designed to manage it or is escaping into the floor. A repair should follow that distinction, with product-specific inspection and controlled testing rather than indiscriminate caulking.
Describe where the water appears
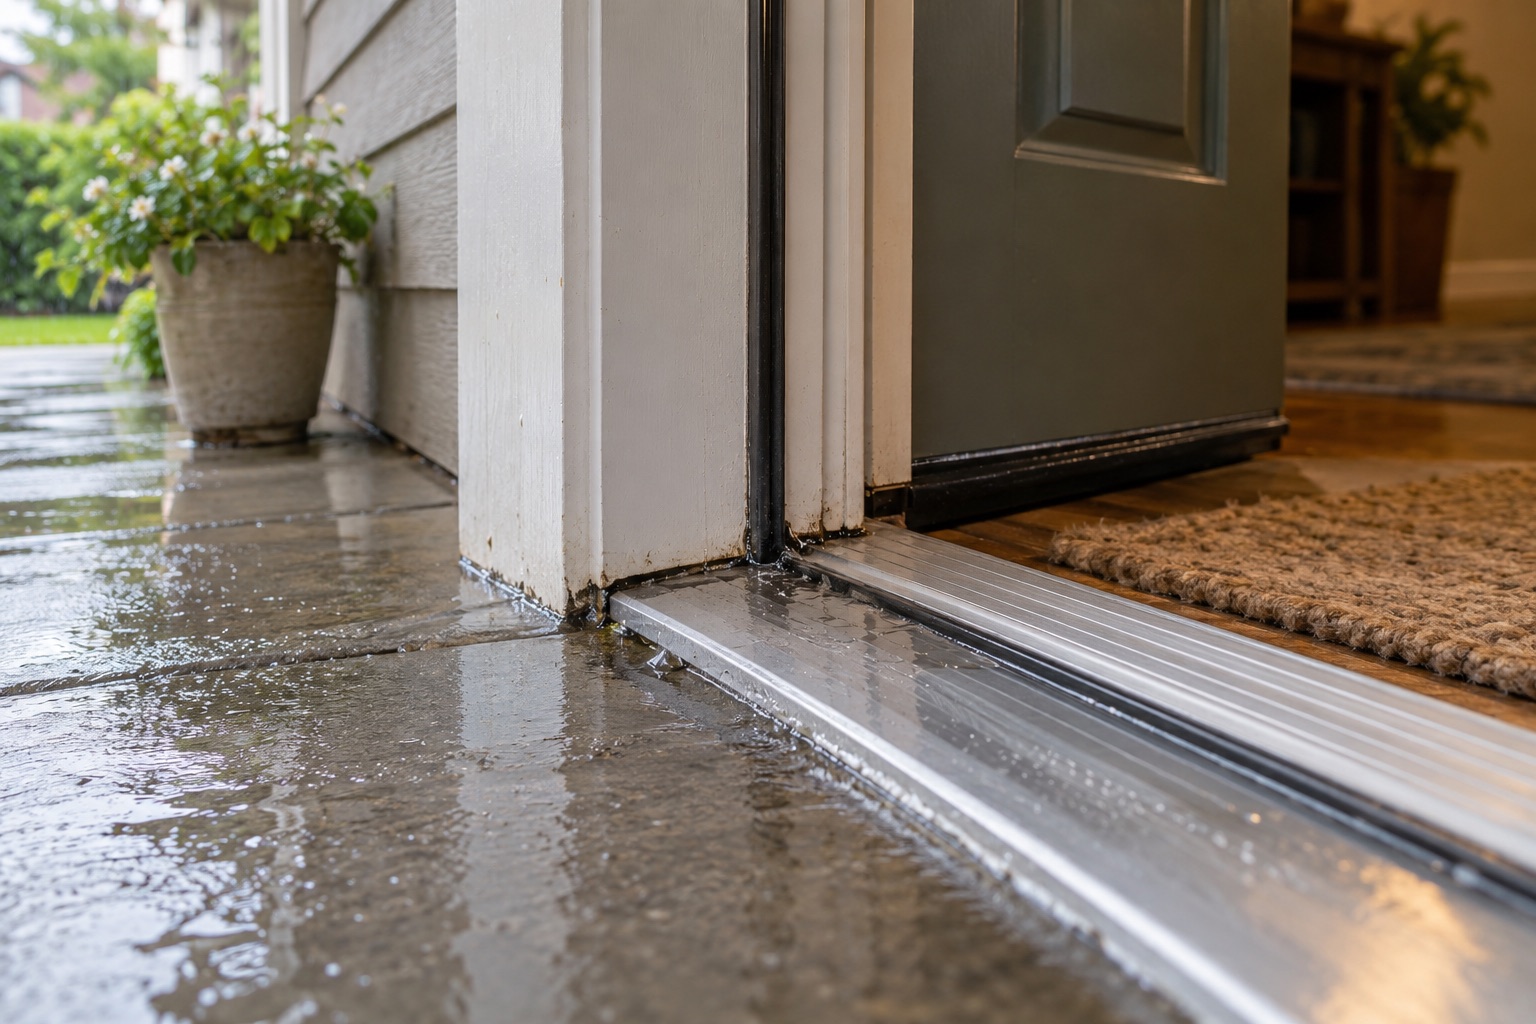
Photograph the track or threshold, the interior floor and the surrounding jambs. Note whether the water remains in a channel, crosses into the room or appears beneath adjacent flooring. Record wind direction, rainfall intensity and whether the door was fully closed. These details help separate a product drainage question from a building-envelope leak.
The researched sliding-door discussion described water remaining after upper flashing had been addressed. The owner suspected a bottom seal, but the report alone could not establish that diagnosis. A wet track is not automatically equivalent to a wet subfloor. Conversely, a small visible puddle can conceal a larger wet area under floor finishes. The investigation must establish the actual boundary of water movement.
Identify the door system and its intended drainage
Find accessible labels or installation records and obtain the manufacturer's current information for that product. Sliding, hinged and multi-panel doors can manage water differently. Familiar-looking slots or openings may have a drainage function. Sealing them because they look like gaps can make the problem worse.
Ask the service provider to explain where incidental water is expected to collect and how it should exit. That explanation should refer to the actual product rather than a general belief that no exterior door component should ever become wet. The acceptance question is whether water stays within its intended path and whether the installation prevents it from entering vulnerable building materials under the specified conditions.
Check closure, alignment and weather seals
Doors that do not close evenly can leave seals compressed in some areas and ineffective in others. Hardware adjustment, damaged seals or an installation alignment problem may therefore be relevant. Have a qualified provider assess the door through its normal operating range. Do not force a stubborn panel or alter safety-related hardware simply to make a leak test pass.
Therma-Tru's historical sill-leak troubleshooting guide illustrates how alignment, weatherstripping and sill interfaces can contribute to leakage in its door systems. It is a manufacturer-specific reference, not a universal repair recipe for every sliding door. Use the reasoning to ask better questions, then require the correct instructions and parts for the installed product before adjustments or replacements are made.
Examine the opening around the door
A functioning door cannot compensate for every defect in the surrounding opening. Water may enter at the head or jamb, move behind the outer finish and emerge near the sill. Threshold support and the connection to adjacent drainage layers also matter. Ask whether the inspection addresses both the door and the rough opening.
PNNL's window and door flashing guidance describes how opening details connect to the wall's water-control layer. The practical implication is that top and side repairs should not be accepted as proof that every lower interface is correct. If the sill area remains concealed, the investigator should state that limitation and explain whether selective access is justified by the evidence.
Review the exterior approach to the threshold
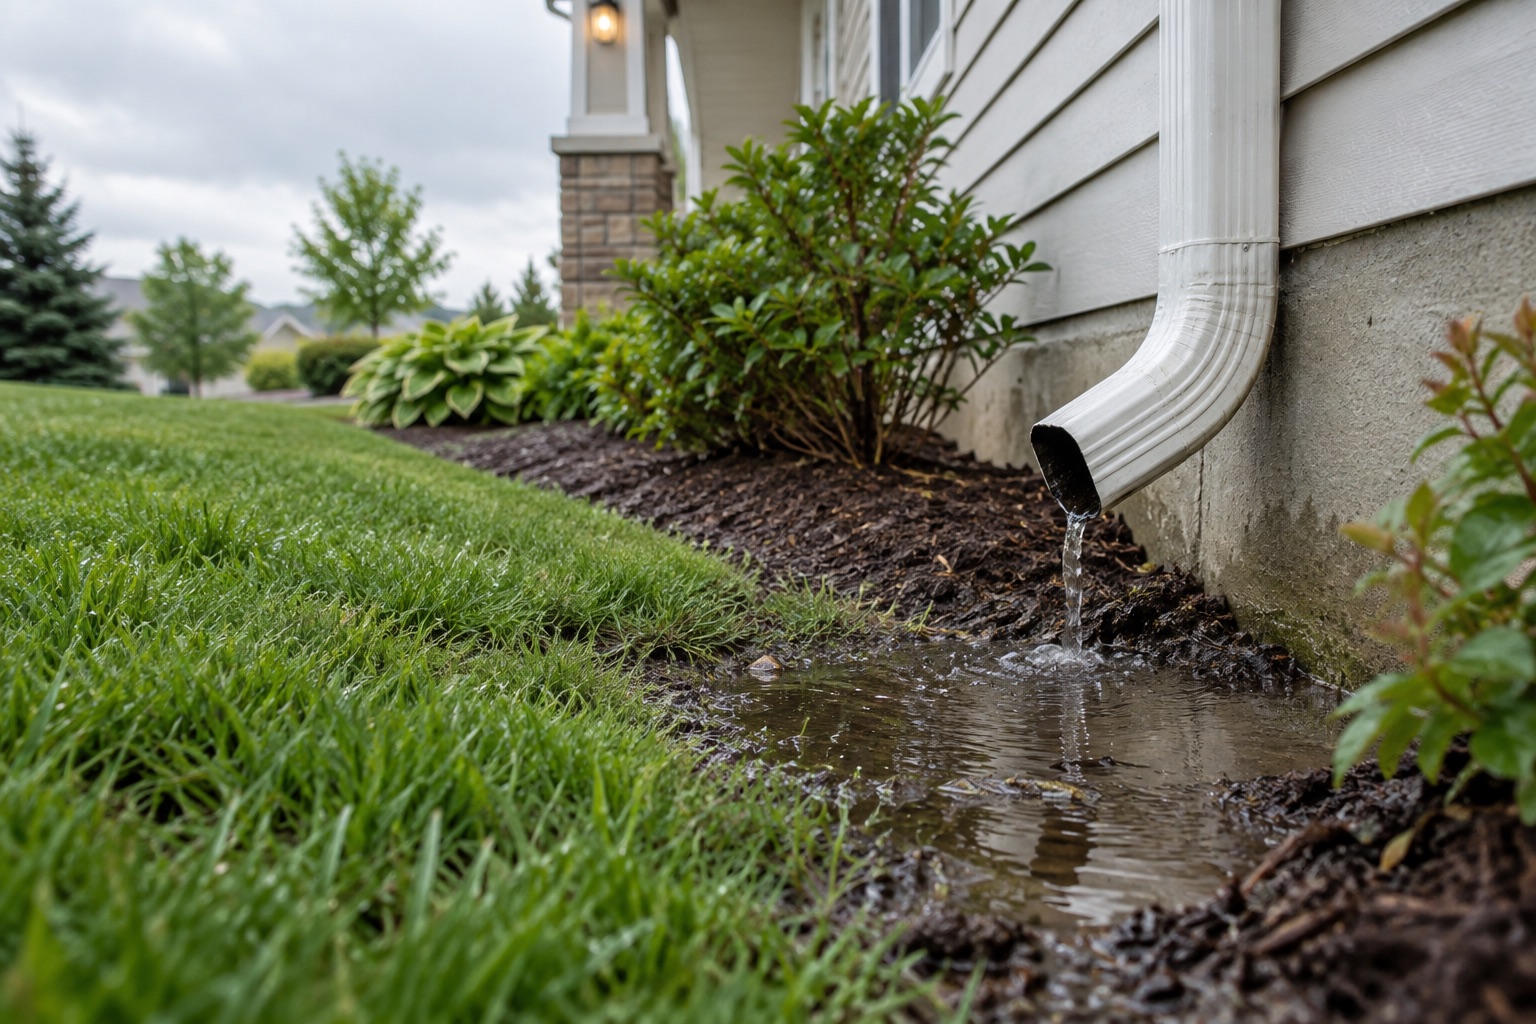
Patios, decks and landings can concentrate splash or runoff near a door. Observe whether water drains away or collects directly against the threshold. Nearby roof runoff can add to the load. These conditions do not prove a defective door, but they can change what the installation must manage and reveal a separate drainage problem.
For a hypothetical patio door, replacing weatherstrip may be appropriate for a verified seal defect. It will not correct a patio that directs standing water against the sill. Another opening may have adequate exterior drainage but a damaged internal component. A complete assessment distinguishes these situations before assigning the whole problem to the last trade that worked nearby.
Make water testing controlled and documented
Ask the professional performing the investigation what part of the assembly each test isolates and how the result will be observed. Applying water everywhere at once may reproduce the symptom without revealing the source. A high-pressure hose can also create unrealistic conditions, especially if aimed into drainage channels or joints from the wrong direction.
The test record should state the method, location, duration and observed response in terms appropriate to the product and investigation. Do not translate a brief successful demonstration into a promise of performance under every storm. If testing shows water entering building materials, document that before cosmetic repairs. The evidence should guide the repair boundary, not merely confirm the contractor's initial guess.
Include the floor and concealed materials
Where water reaches the room, ask what materials may have been affected beneath the visible surface. Flooring, underlayment, trim and wall bases can hide moisture or deterioration. The historical HUD rehabilitation inspection guide supports evaluating connected building conditions rather than restricting attention to the first visible finish defect. Its inspection approach is useful; dated code references are not a current local specification.
Define any selective access, drying assessment and restoration in the scope. A new threshold cover or transition strip should not conceal an unresolved wet area. If damaged structural support is discovered, appropriate professional evaluation is needed before reconstruction. The same visit may therefore involve door service, envelope work and material repair, with responsibility clearly assigned.
Verify the repair as a complete system
Review normal operation after adjustments and confirm that seals, drainage paths and hardware remain functional. Obtain photographs of any concealed flashing or substrate repair before closure. Keep the exact replacement-part identification and instructions. Ask what test or later observation supports completion and what remained inaccessible.
After the next relevant rain, compare the repaired opening with the original record. Look for water crossing into the room and for renewed staining at adjacent materials. Report recurrence with photographs and conditions rather than adding another bead of sealant. A useful repair record tells the next service provider which interfaces were tested, which were repaired and which were never shown to be the cause.
BEFORE YOU PROCEED
Your project checklist
- Distinguish a wet drainage channel from water entering the room.
- Identify the exact door and its intended drainage path.
- Have closure, alignment and seals evaluated together.
- Assess rough-opening flashing and exterior runoff conditions.
- Document controlled test conditions and concealed-material findings.
- Confirm operation and inspect after the next relevant rain.
Questions that come up next
Should I caulk the drainage holes in a sliding-door track?
No indiscriminate sealing should be done. Identify the product's intended drainage openings and follow its instructions; blocking an outlet can trap water that should leave the frame.
Does replacing the bottom seal always fix a threshold leak?
No. A seal defect is one possibility, but alignment, sill interfaces, flashing and exterior runoff can produce similar symptoms. The repair should follow a verified cause.
EVIDENCE & SCOPE
Sources for this guide
Applies to: United States homeowner education. Climate, existing assembly, manufacturer instructions and locally adopted requirements govern project details; no nationwide code threshold is asserted.
Reddit discussions identify questions and experiences, not verified diagnoses or code requirements. Technical claims should be read with the linked primary source, product instructions and local requirements.
- Therma-Tru SITE 4 Troubleshooting: Water Leakage Around or Under Sillmanufacturer
Door alignment, weatherstrip and sill-interface leakage causes. Therma-Tru 2017 product guidance; details apply to the identified door system.
- Windows and Doors are Fully Flashedgovernment
Window and door opening drainage, sill pans, shingle-lapped flashing and visual verification. Technical guidance; local requirements and product-specific details vary.
- Residential Rehabilitation Inspection Guidegovernment
Existing-building inspection, structural distress and hidden systems assessment. Historical HUD guide accepted in 2000; inspection background, not a statement of current local code.
- Sliding patio door leaking from bottom seal even after flashing—fix or replace?reddit
An anonymized homeowner question that informed the article. Retrieved through search excerpts; anecdotal evidence, not a technical diagnosis.